
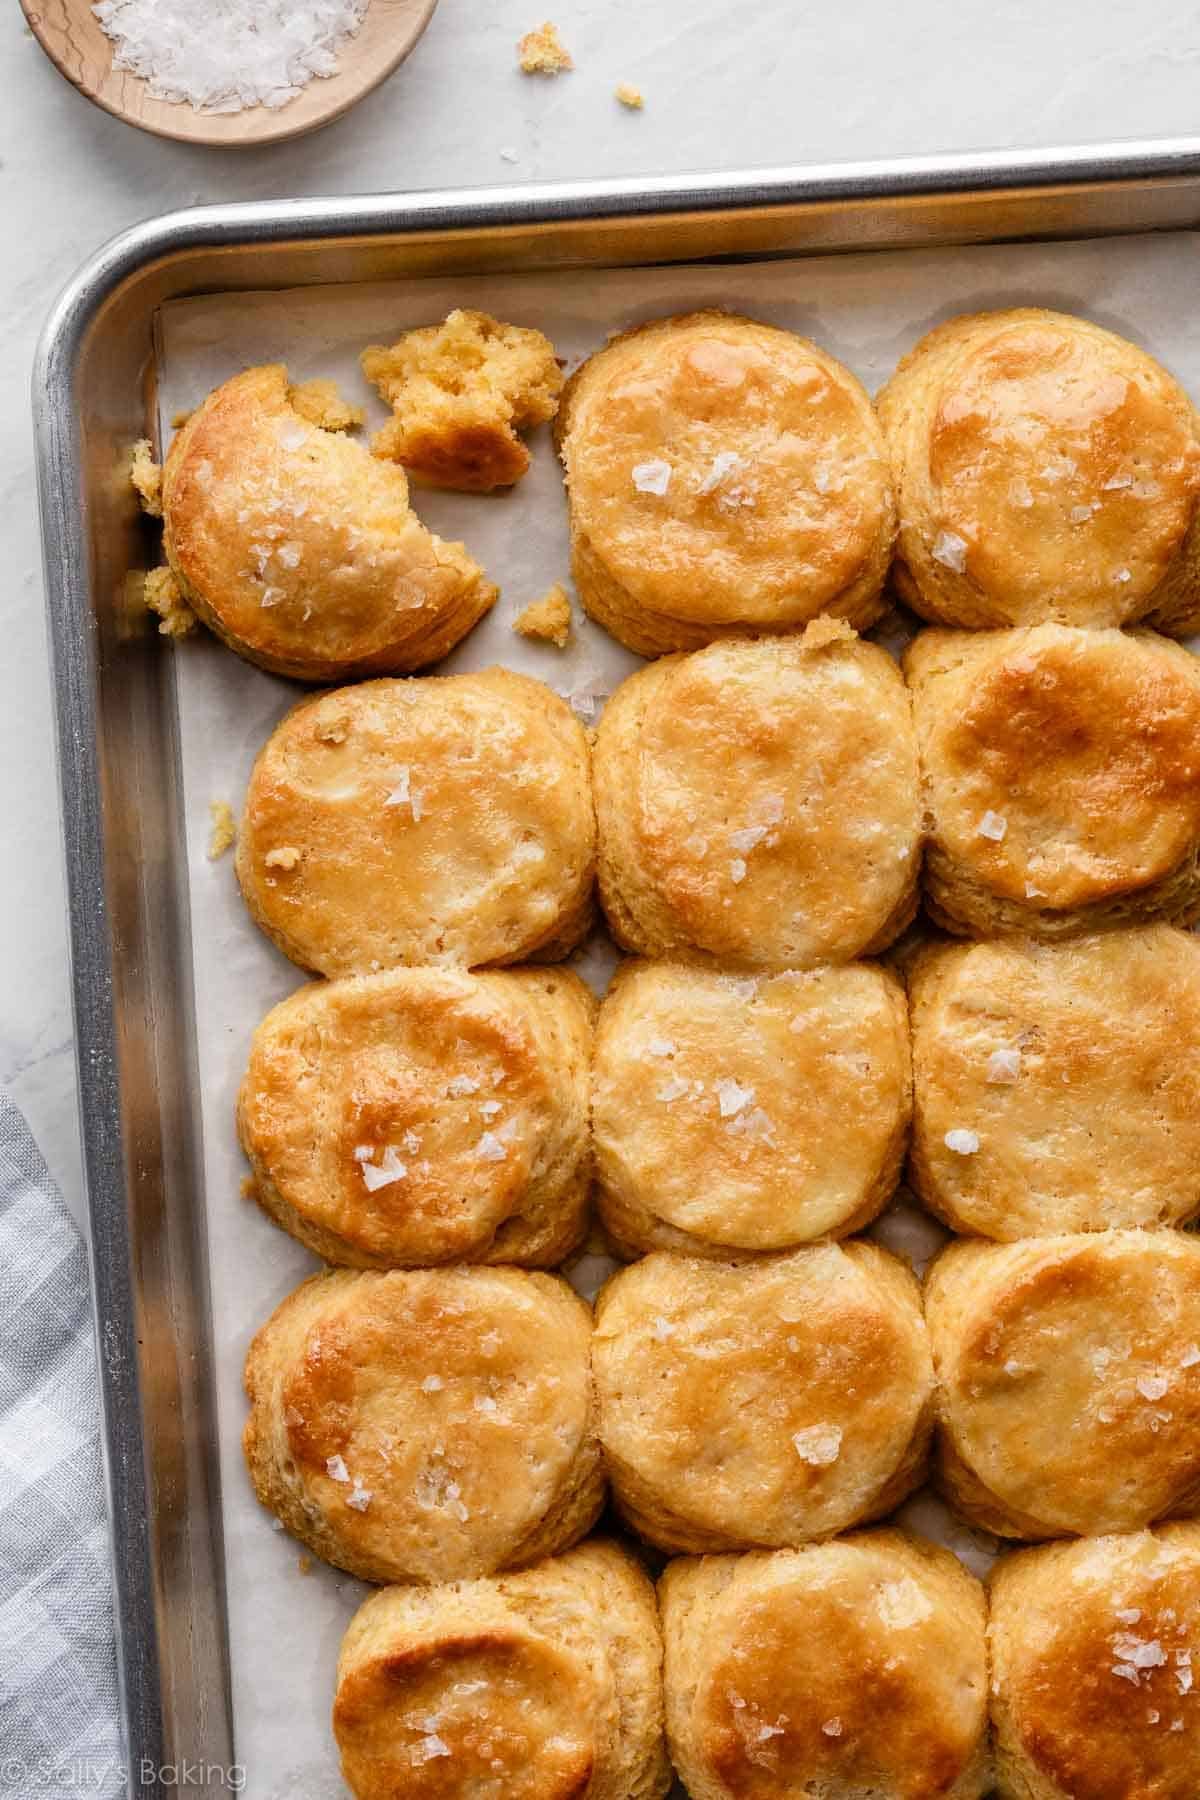
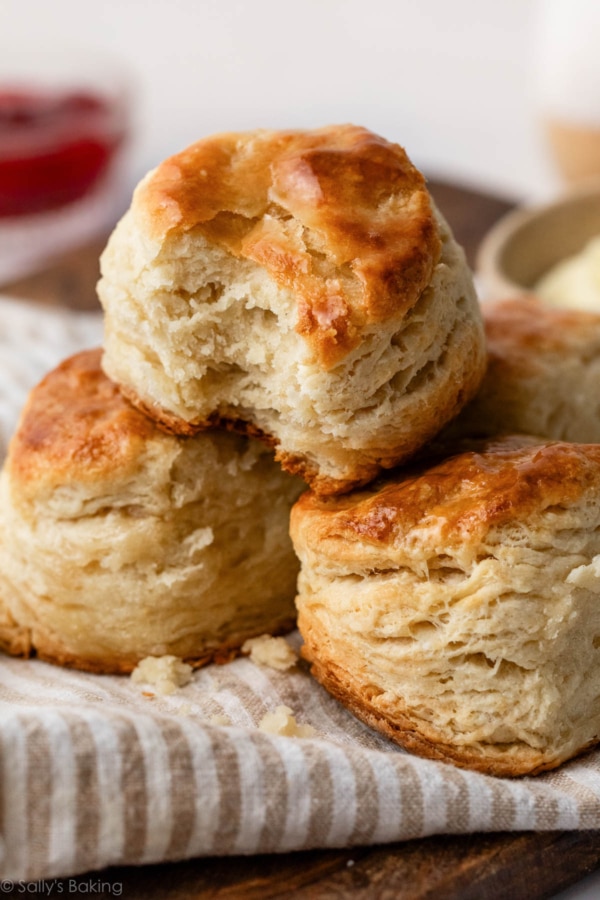
These cornbread biscuits are golden, buttery, and make the perfect side for so many meals. A touch of honey adds subtle sweetness, while cornmeal adds flavor, a lightly crisp texture, and beautiful golden color. Using cold butter and buttermilk helps promise wonderfully tender, sky-high layered biscuits. Make them plain, or try one of our flavorful variations: jalapeño cheddar or maple bacon.
What Are Cornbread Biscuits?
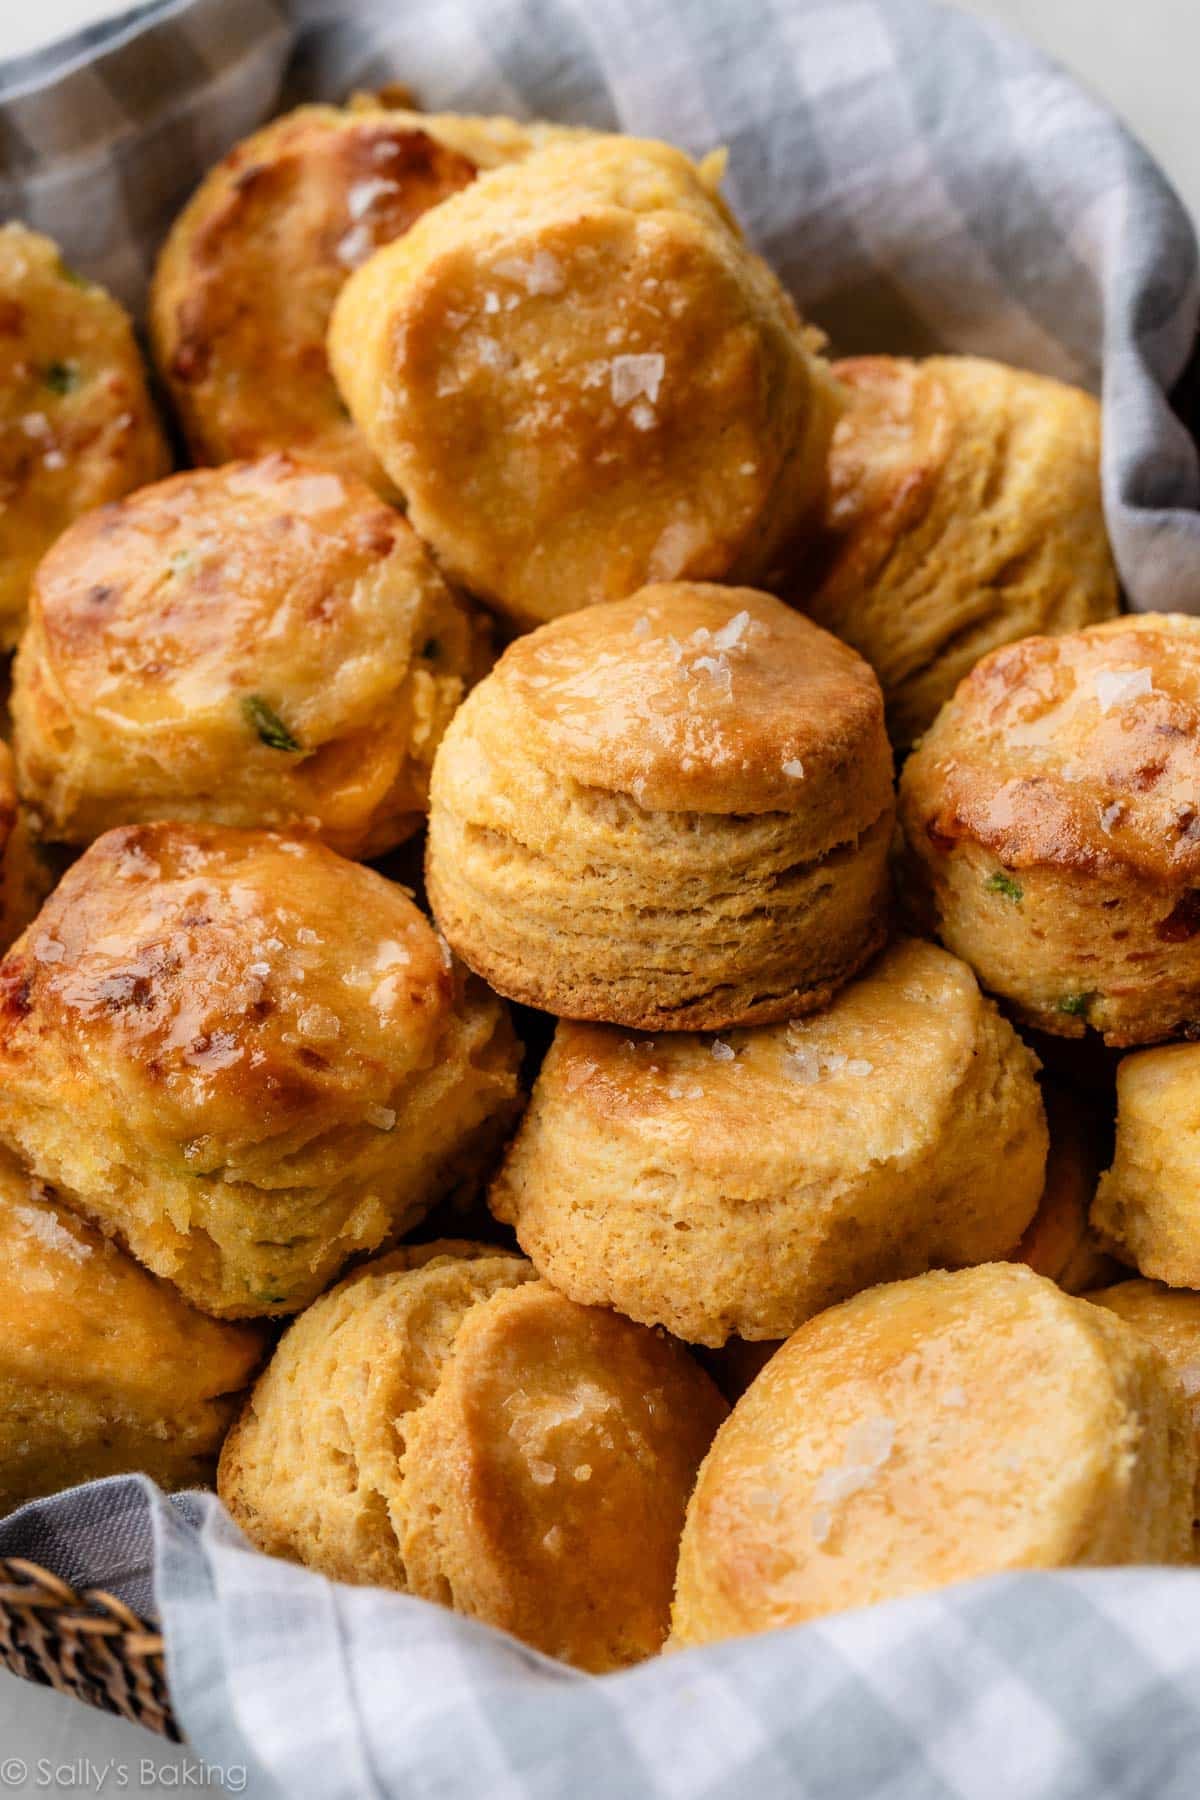
If you love classic buttermilk biscuits and sweet, buttery cornbread, today’s recipe brings the best of both quick breads together. These homemade cornmeal biscuits are tender, golden, and layered with buttery goodness, with just enough cornmeal and honey to add texture, flavor, and a subtle hint of sweetness. They bake up tall with crisp edges, soft centers, and irresistible homemade flavor.
Perfect served warm with honey butter or cinnamon butter, alongside barbecue, tucked next to a bowl of chili, or as part of a summertime dinner, these cornmeal biscuits are simple to make and endlessly versatile.
Or try them for breakfast, alongside eggs and maple chicken breakfast sausage!
Why You’ll Love These Cornbread Biscuits
- Extra flaky layers from cold butter and folding the dough
- Soft, tender interiors with lightly crisp edges
- Buttermilk keeps the biscuits flavorful and moist
- Cornmeal adds flavor and texture without making them dry
- Easy recipe with simple pantry ingredients
- Delicious savory or sweet—try our favorite variations or come up with your own!
One reader, Emily, commented: “What a great combo—cornbread and biscuits. Yum! Easy to make, great directions as usual, and very yummy. My family of 4 finished the whole batch except for 2 (and we are all eyeballing those leftovers, trust me!). Served them with the honey butter and some chili. Perfect combo. ★★★★★“
Another reader, Elizabeth, commented: “These cornbread biscuits were easier to make than I thought, and they came out amazing. Think flaky biscuit with a cornmeal crunch! So delicious. ★★★★★“
Another reader, Nikki, commented: “Goodness, these are so delicious! Easier to prepare than I expected. I had a 2.5-inch biscuit cutter and ended up with a perfect dozen. I made the regular version and now can’t wait to try the other two. We ate them as they came out of the oven, warm and soft, with pillowy layers and great flavor. Yum! ★★★★★“
Grab These Ingredients
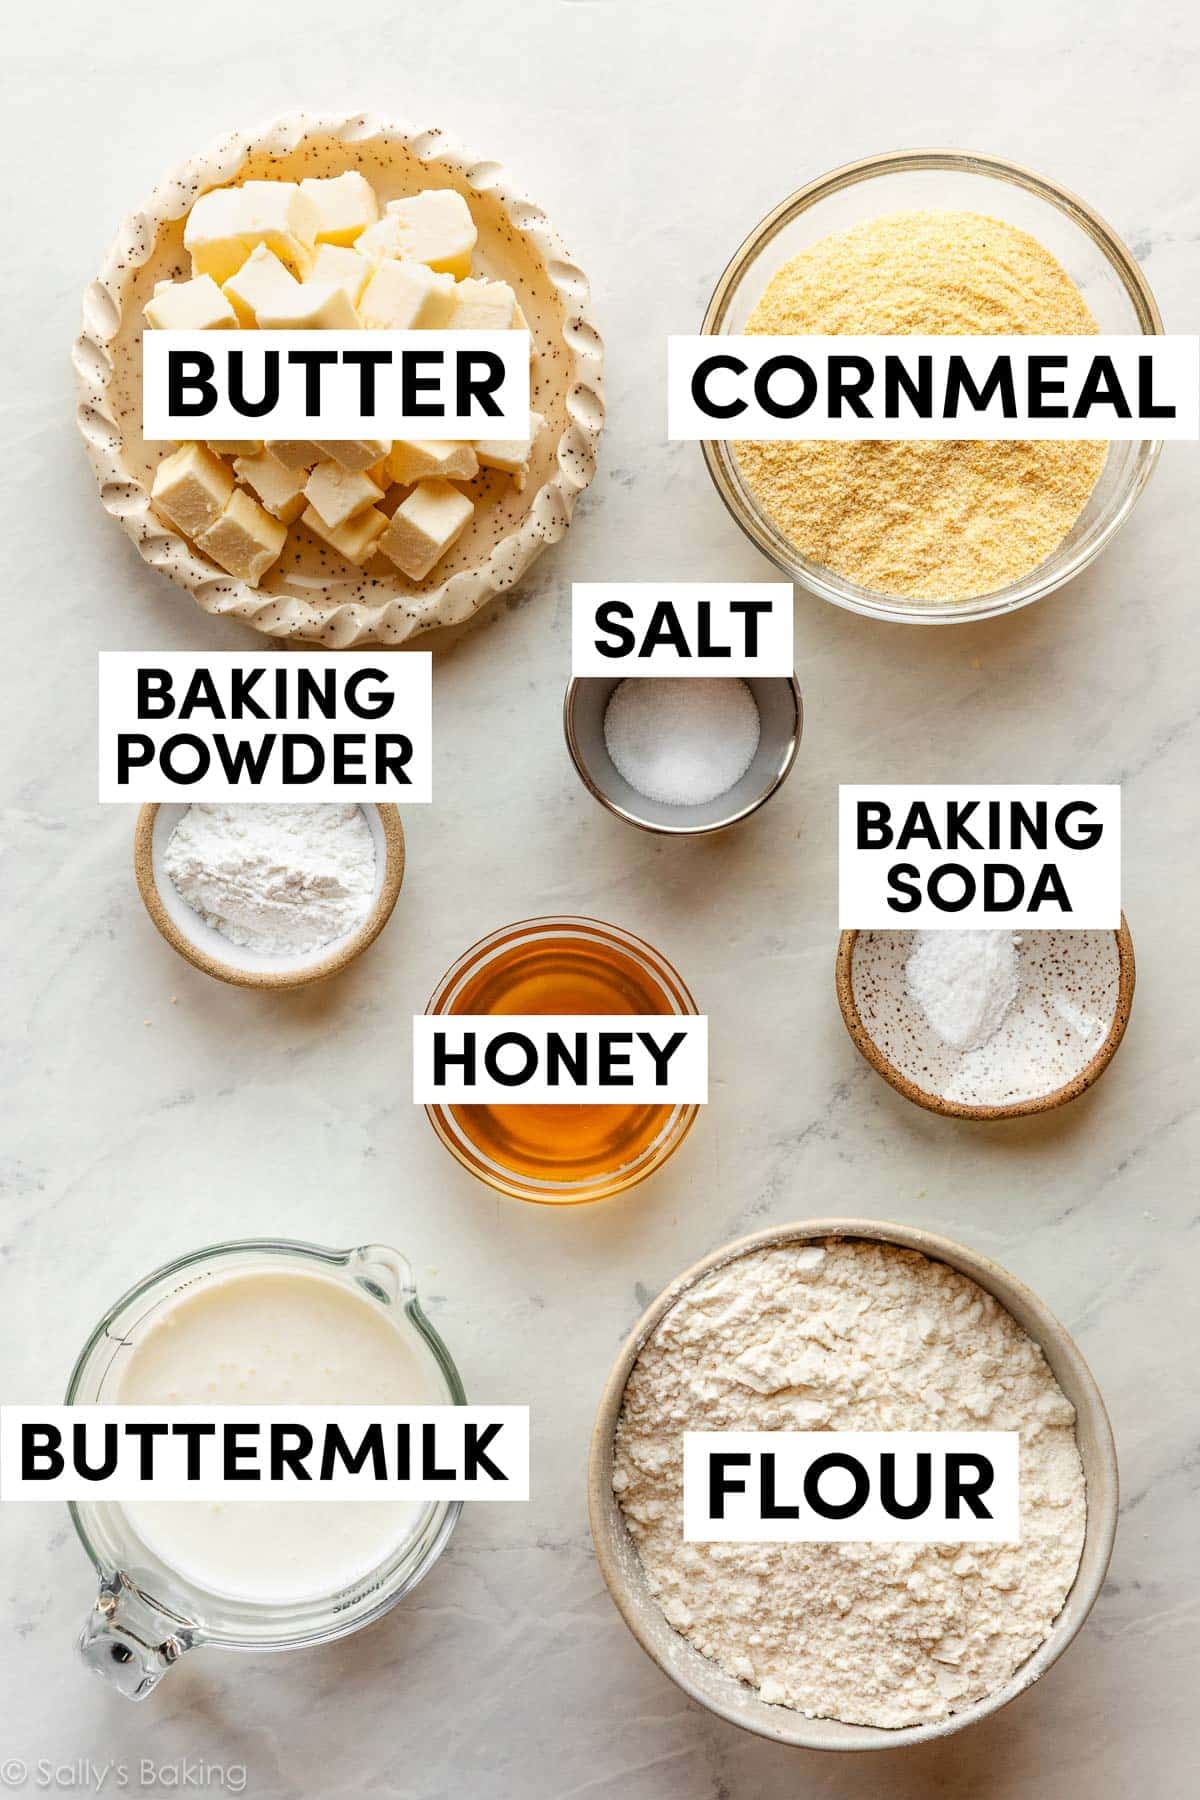
You need just 8 basic ingredients. With so few ingredients, it’s important to reach for quality ingredients and avoid any substitutions.
- All-Purpose Flour: The structural base of these cornbread biscuits.
- Cornmeal: A small amount of fine or medium-ground yellow cornmeal gives these biscuits their signature flavor and texture.
- Baking Powder & Baking Soda: These leaveners work together for tall, fluffy biscuits with plenty of lift.
- Salt: Key for flavor.
- Butter: Cold butter is the secret to flaky biscuits. As the cold butter melts in the oven, it releases steam, lifting the biscuits up and creating all those beautiful layers. It’s the same principle that creates flaky layers in pie crust, scones, and other biscuit recipes.
- Buttermilk: Buttermilk creates tender biscuits with rich flavor. If you don’t have buttermilk, you can use a DIY buttermilk substitute in a pinch, but real buttermilk produces the best texture.
- Honey: The key to a lightly sweet cornbread biscuit is honey! But feel free to use maple syrup instead, especially if making the maple bacon cornbread biscuit variation detailed below.
Cornbread Biscuit Dough
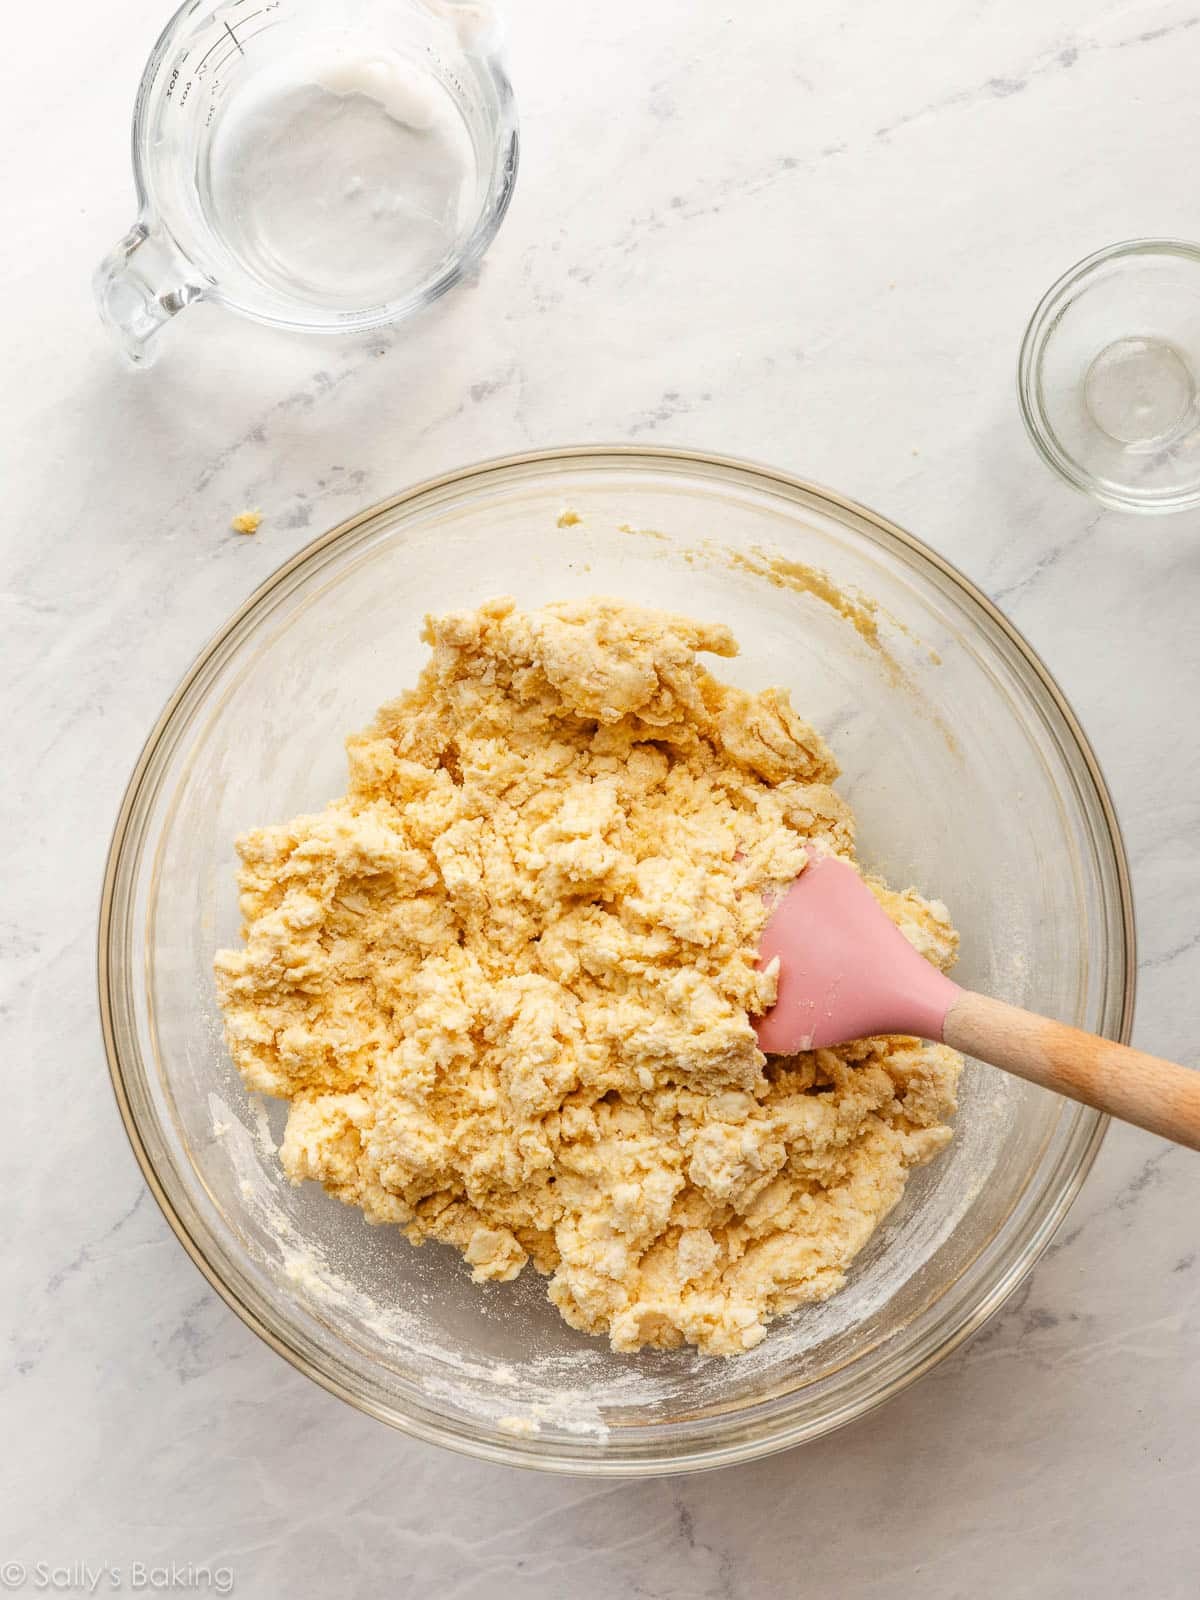
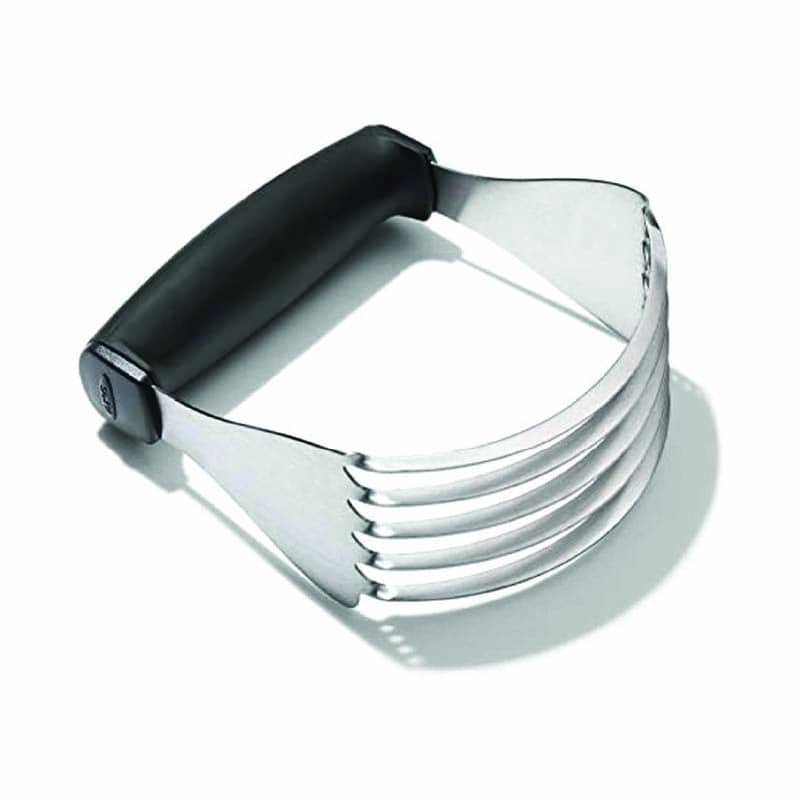
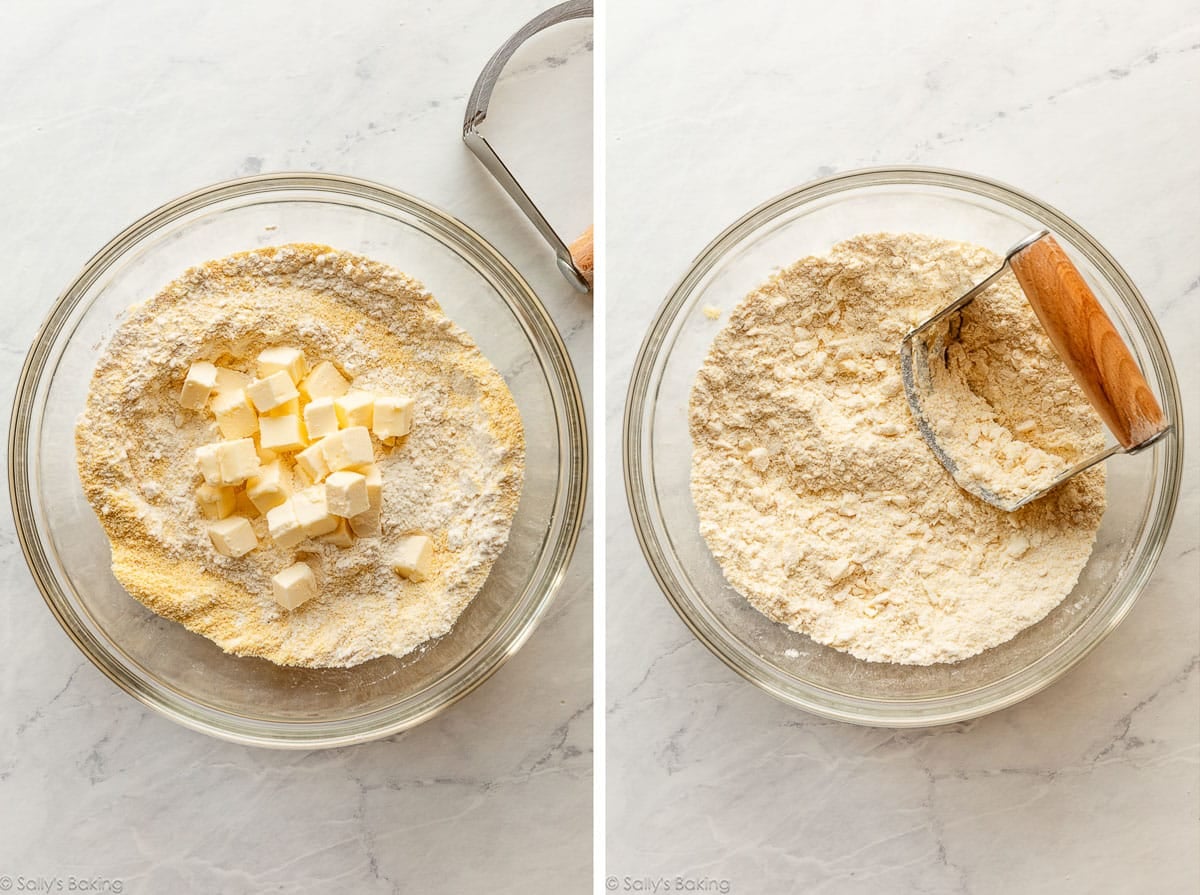
Whisk the dry ingredients together, then add the cold cubed butter. Cut the butter into the dry ingredients with a pastry cutter, like when making pie crust or this savory quick bread, or pulse in a food processor. Cut/blend in the butter, then add the cold buttermilk and honey. Mix everything together until you have a shaggy dough, like this:
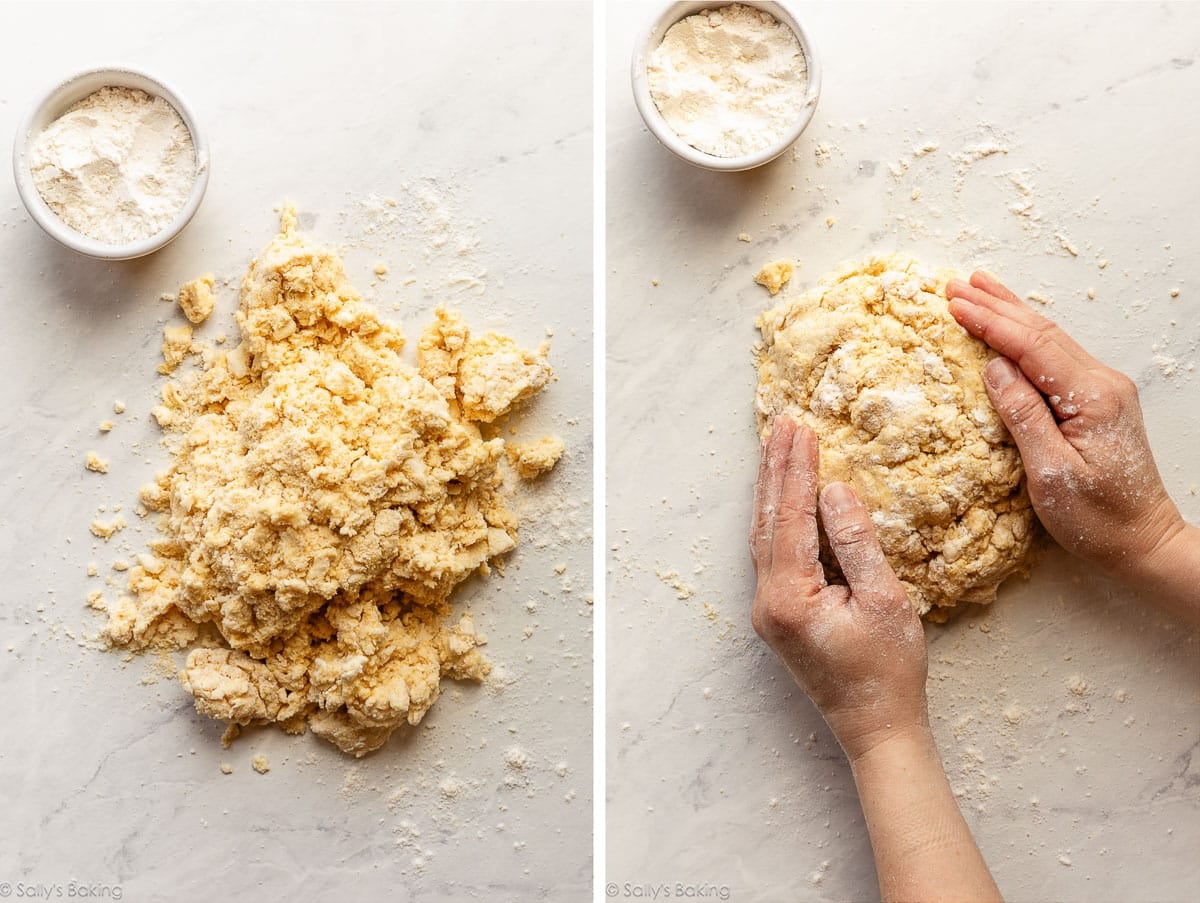
Pour it out onto a work surface and bring the dough together with your hands. It will be dry and shaggy with a few moist spots. That’s all perfectly normal:
Fold & Flatten the Dough
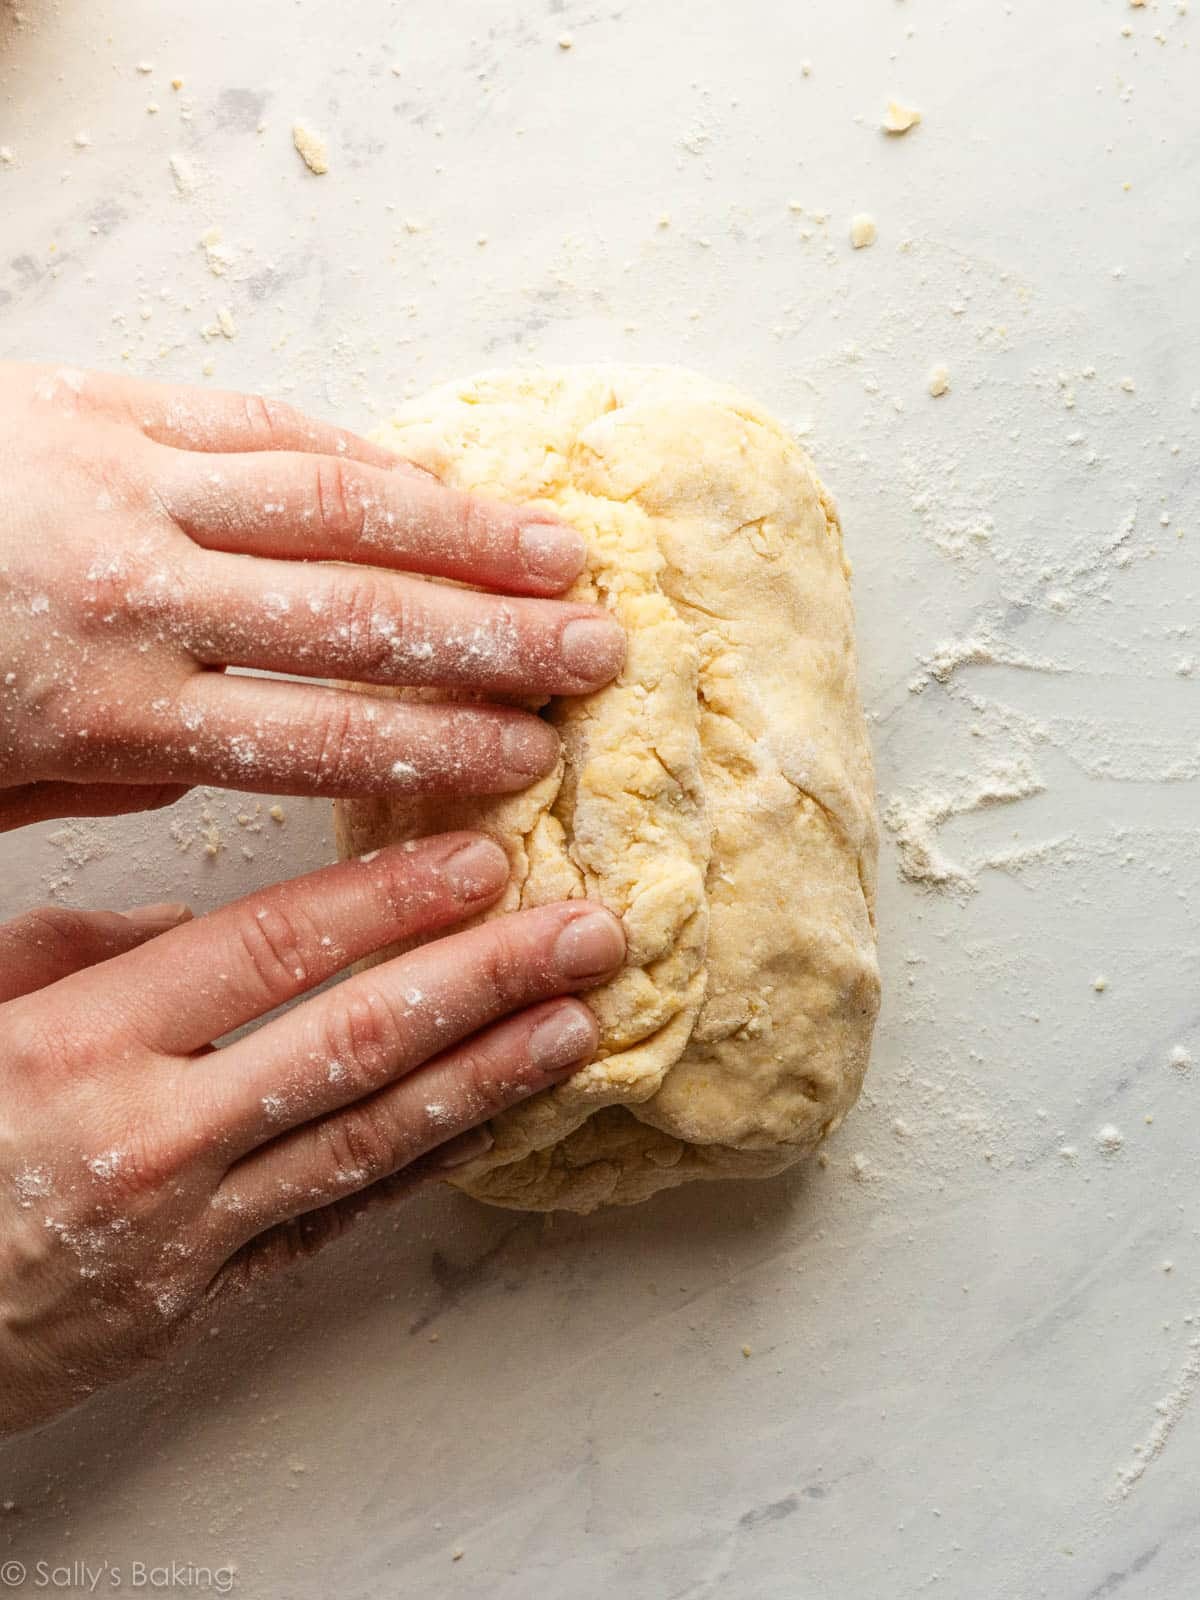
Flattening and folding biscuit dough creates multiple flaky layers, just as it does when we make homemade croissants, rough puff pastry, homemade cruffins, mille-feuille, and croissant bread. This step only takes a couple minutes, and it makes the biggest difference in how your biscuits turn out.
First, shape the dough into a rectangle about 3/4 inch thick. Fold one side into the center, then fold the other side over top, like folding a business letter.
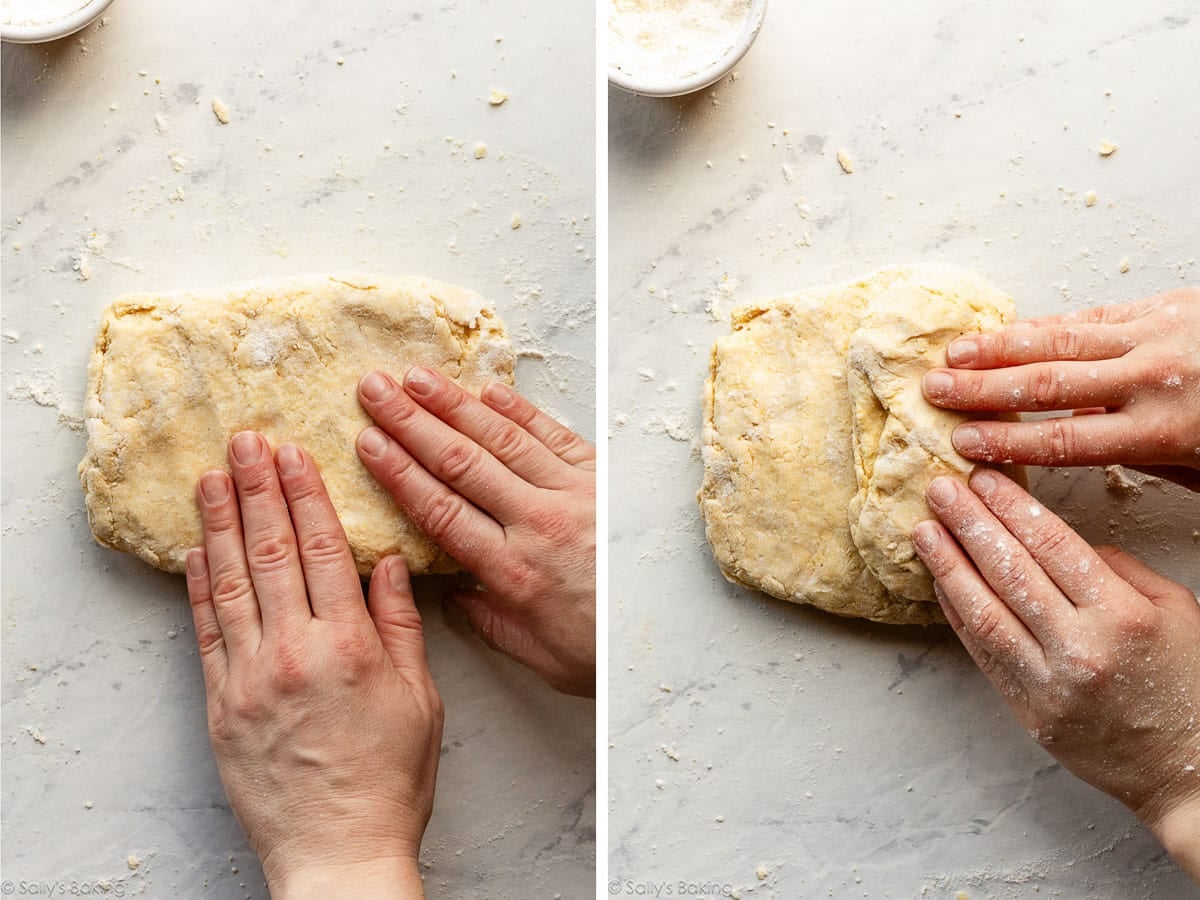
Turn the folded dough 90 degrees so it’s now horizontal, flatten to 3/4-inch thickness, and repeat that folding process 2 more times.
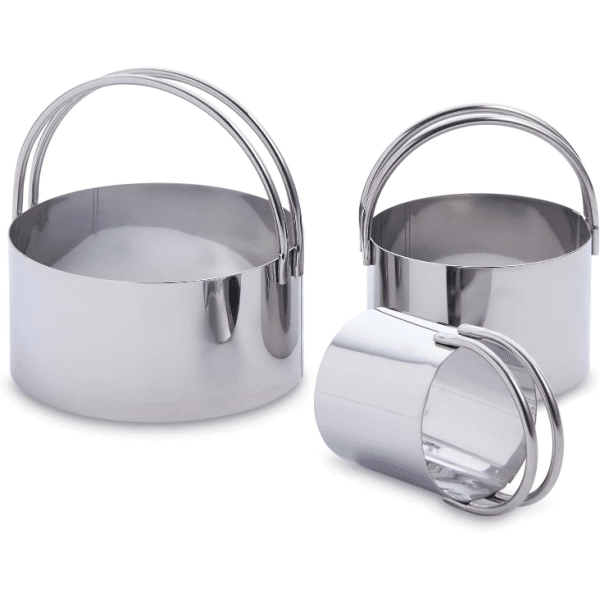
Use a biscuit cutter to shape into rounds. If you don’t have a biscuit cutter, you can cut into squares instead. Gather the scraps together, refold a few times, and cut more biscuits until you use up the remaining dough.
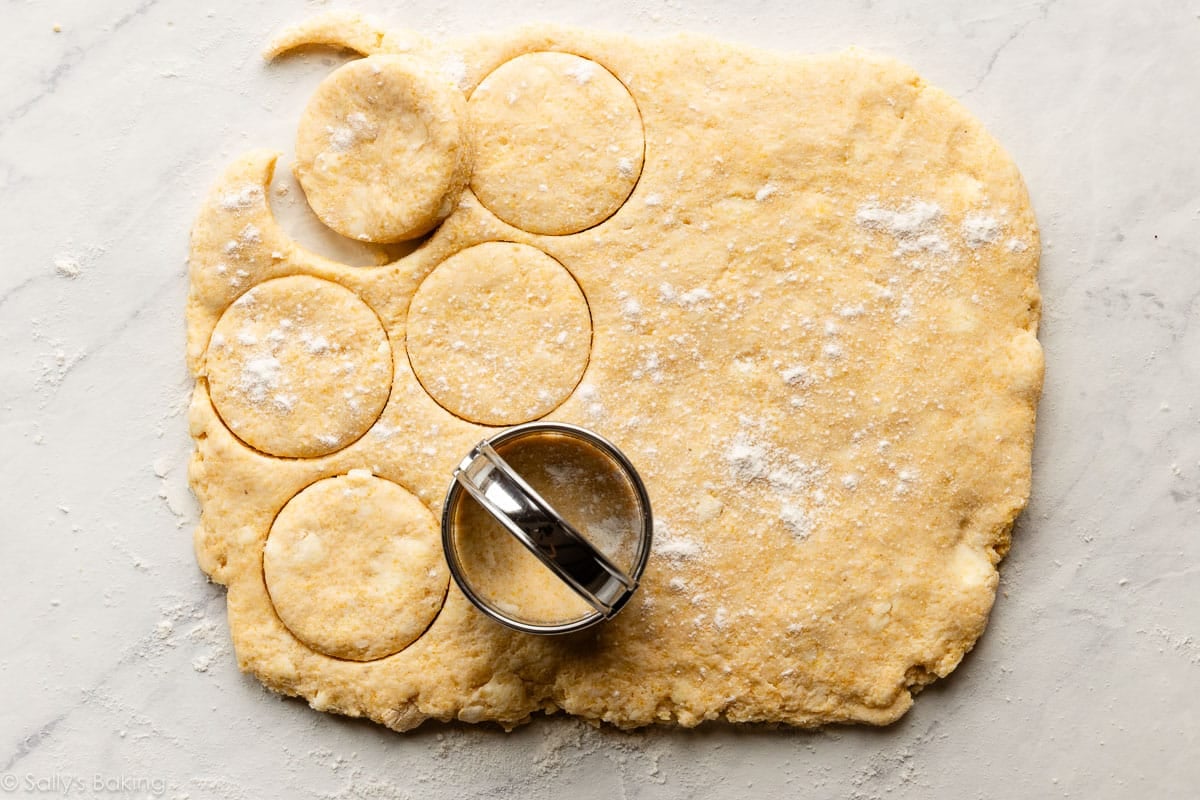
For the pictured cornbread biscuits, I used a 2-inch biscuit cutter, which gave me 15–18 smaller biscuits. If you have a larger biscuit cutter, that’s fine too. A 2.5-inch biscuit cutter should give you about 10–12 cornbread biscuits.
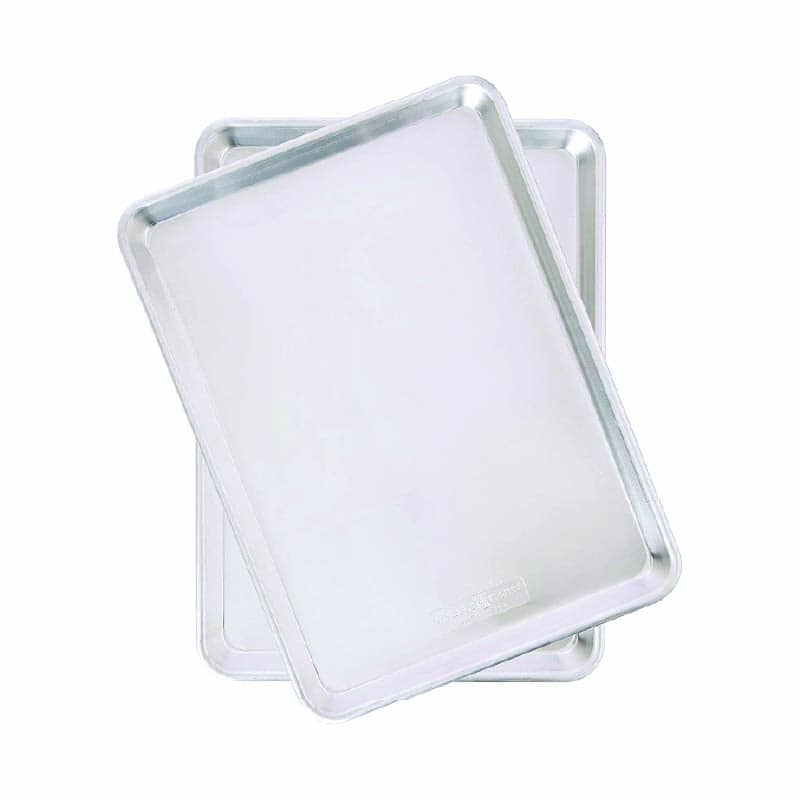
Arrange close together on either a lined baking sheet (I used a quarter sheet pan) or in a cast iron skillet. Again, make sure the biscuits are close together—or even touching—so they will rise up without toppling over.
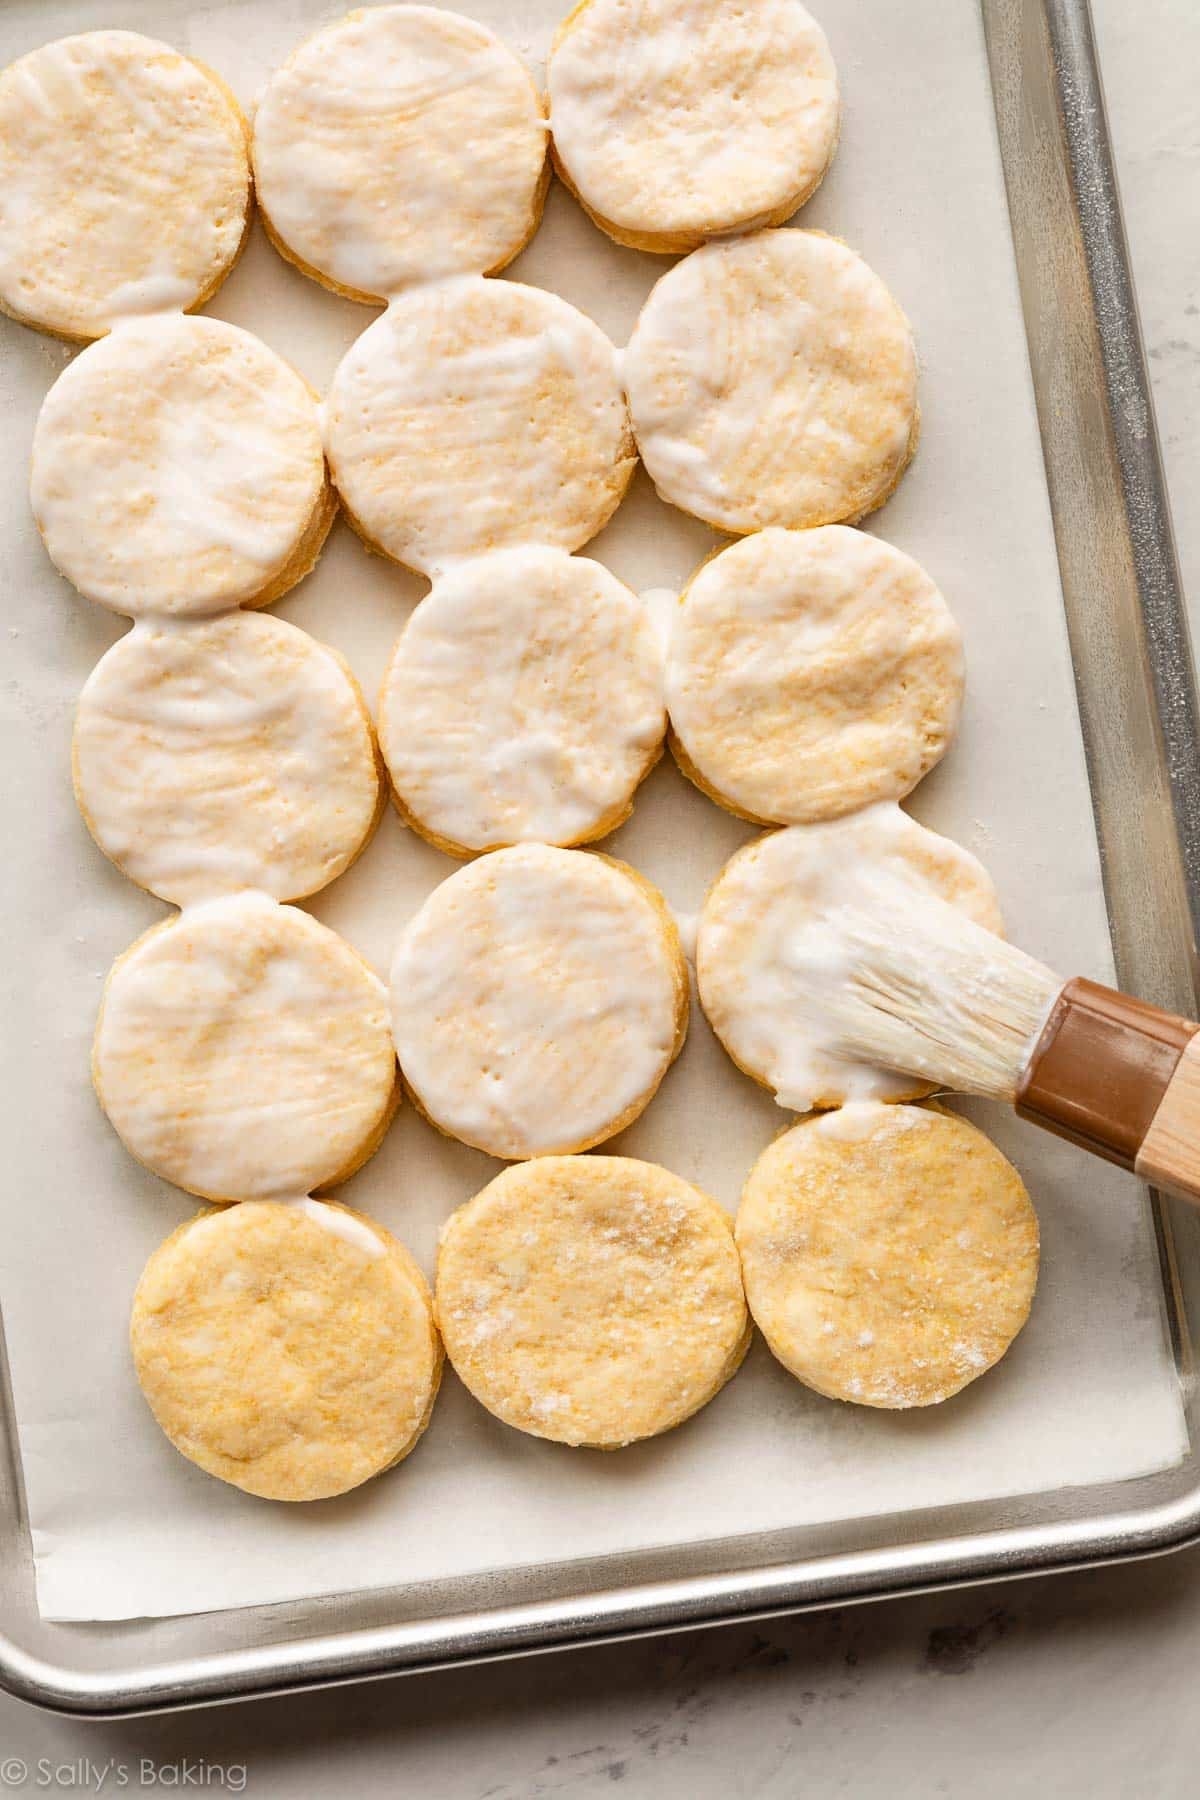
Before baking, brush the biscuits with buttermilk to help the tops brown evenly.
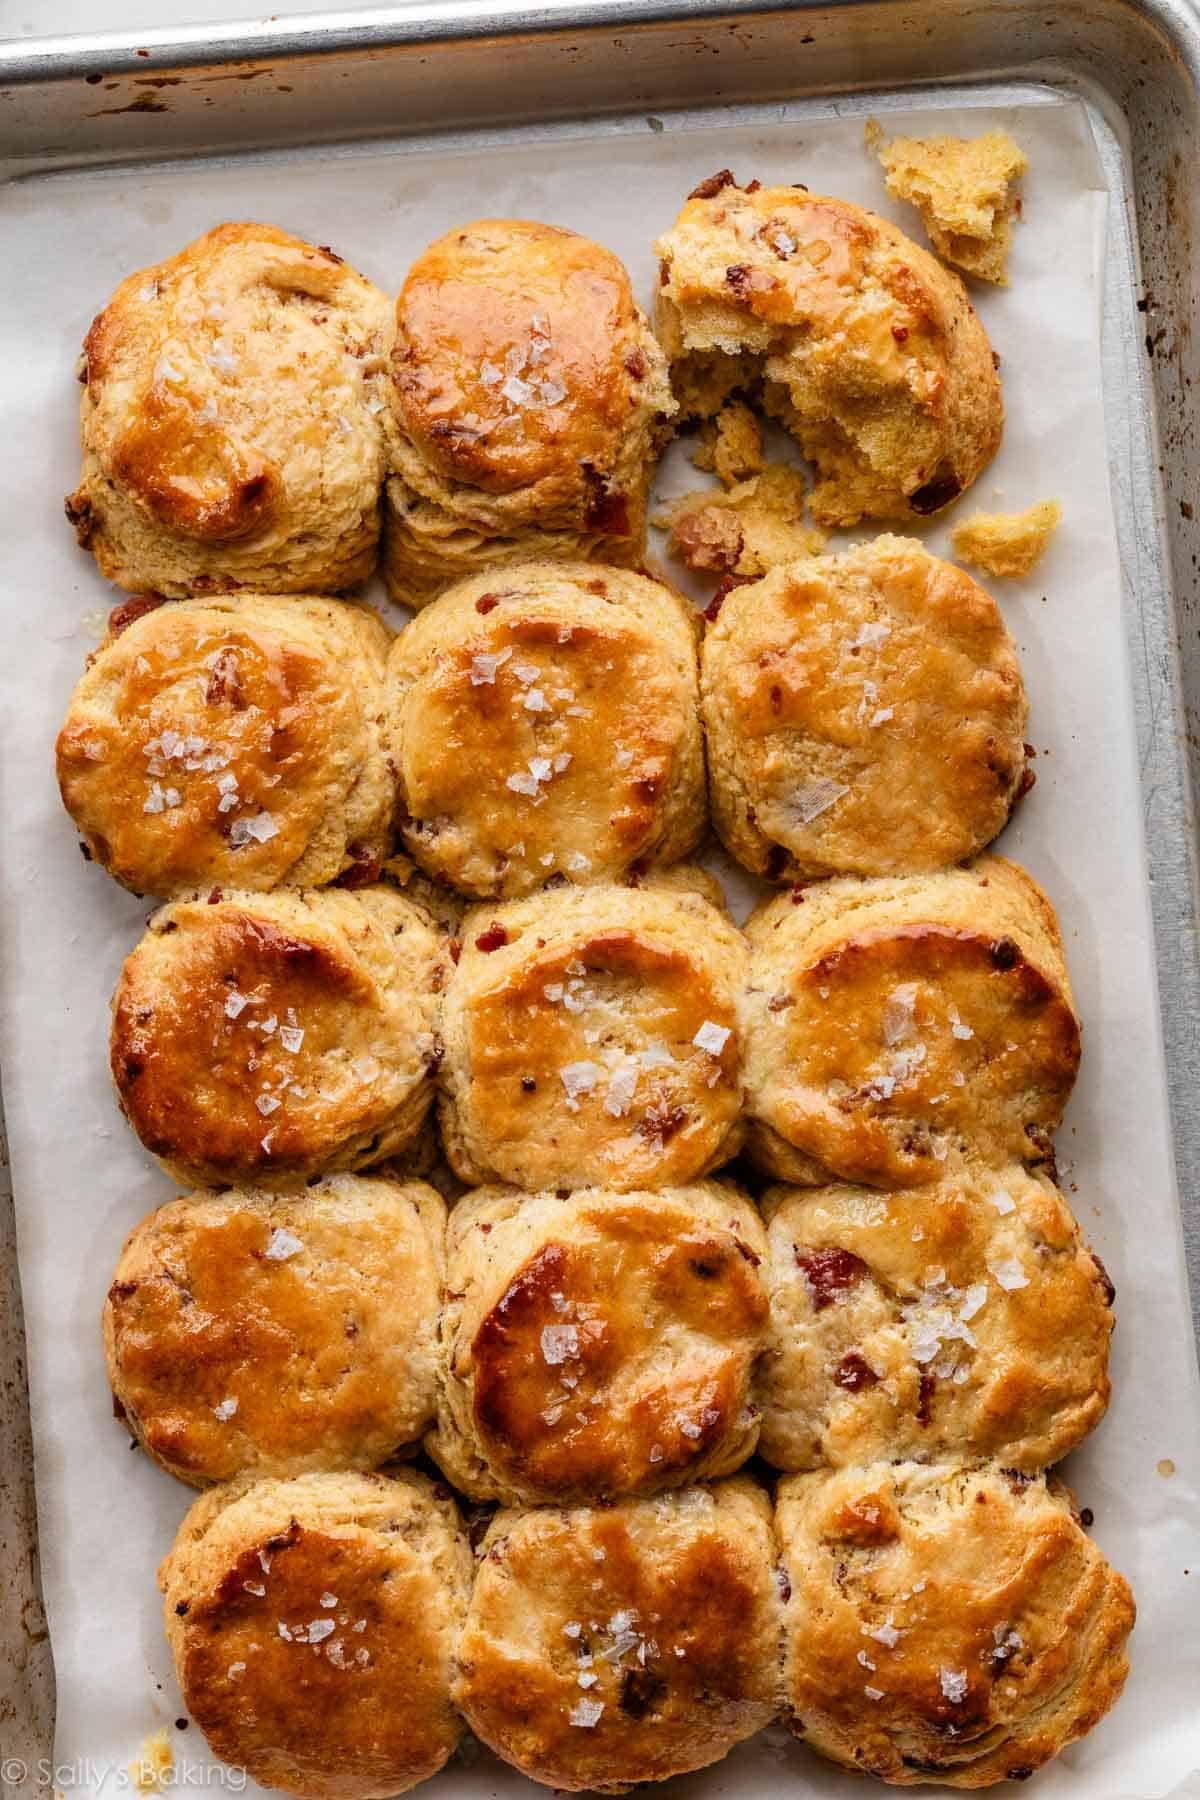
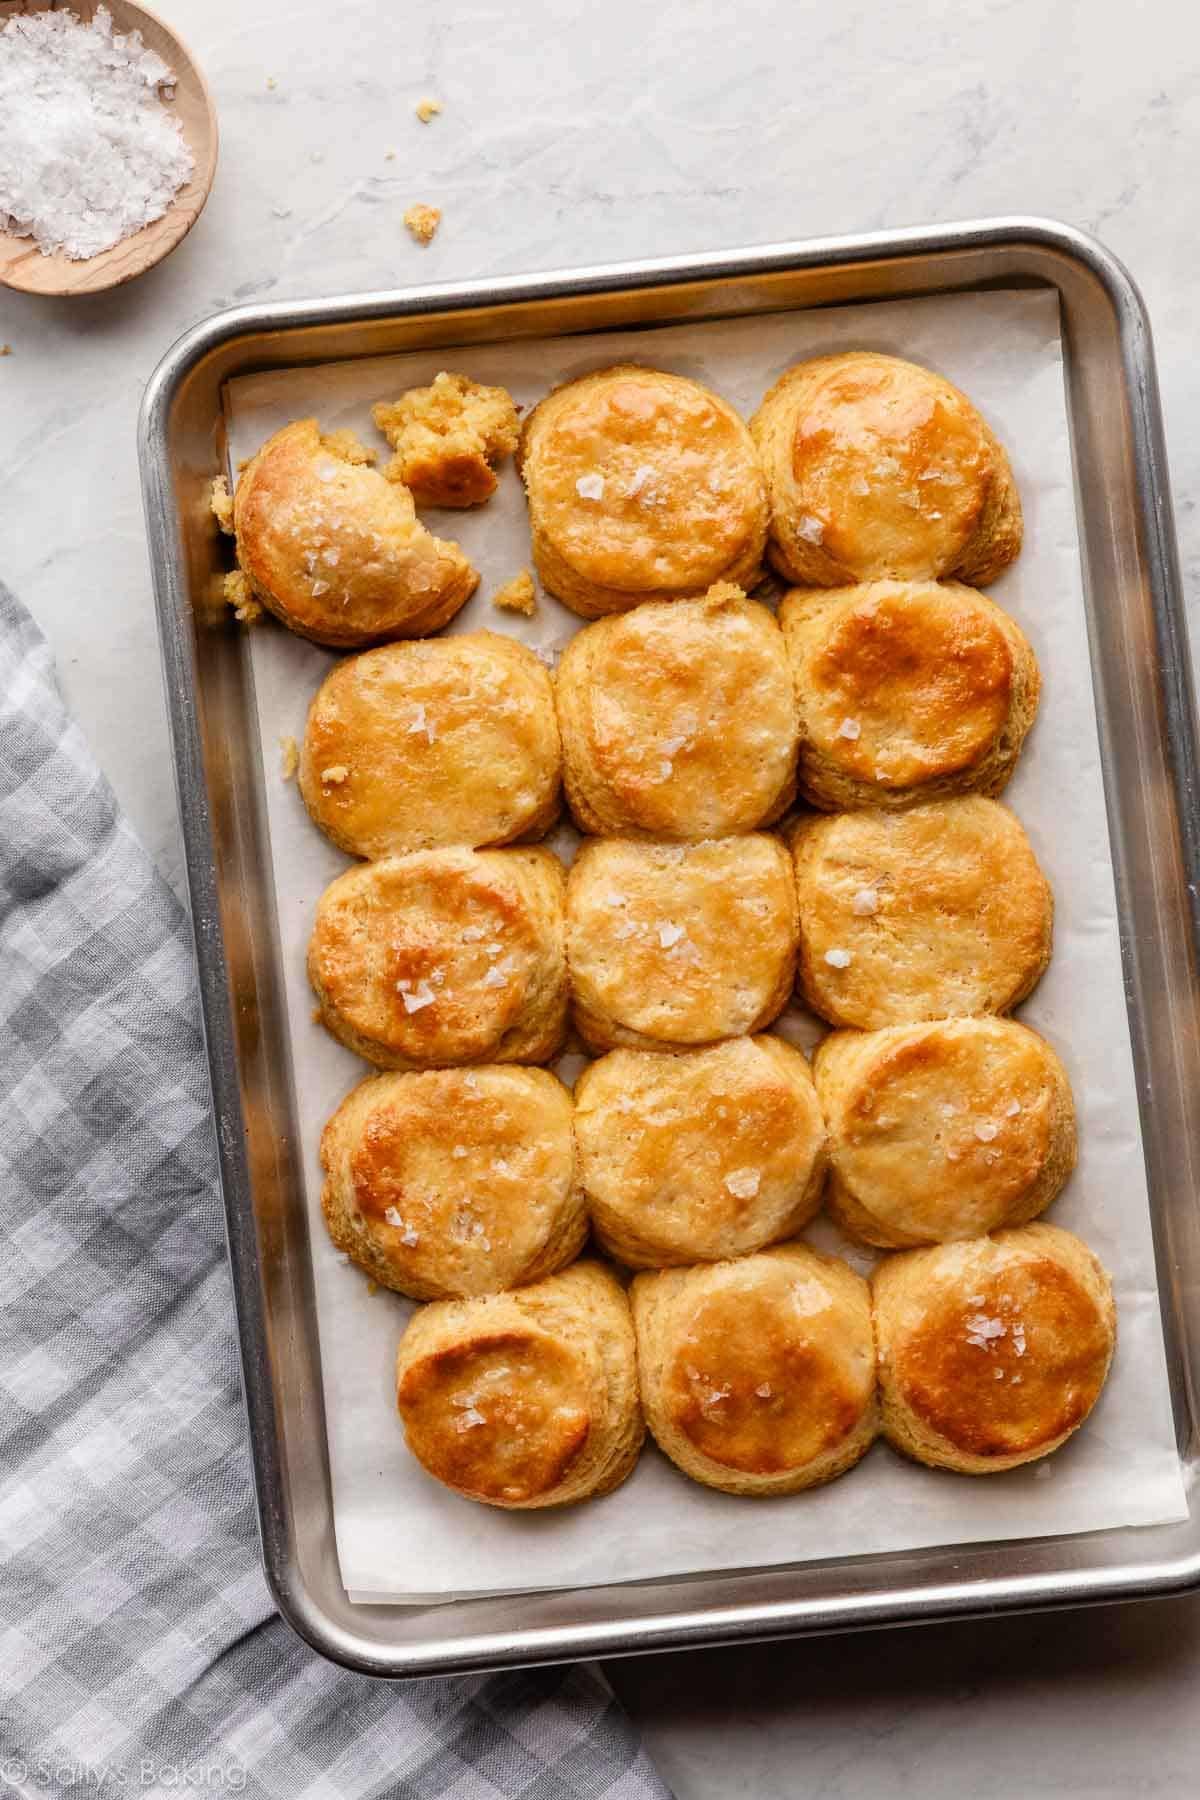
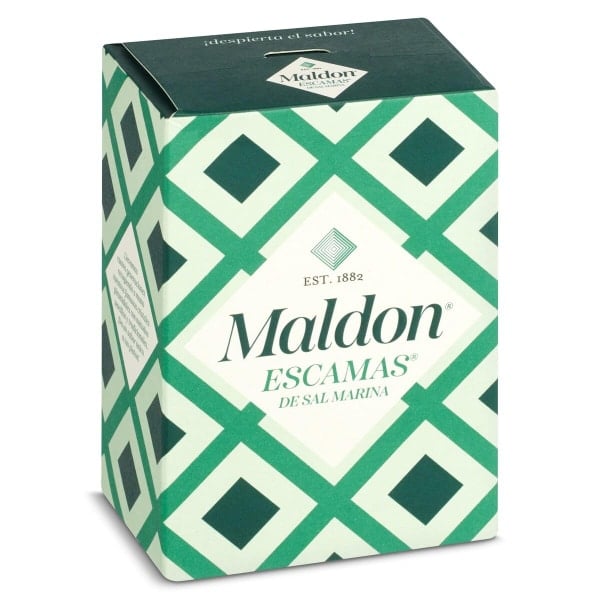
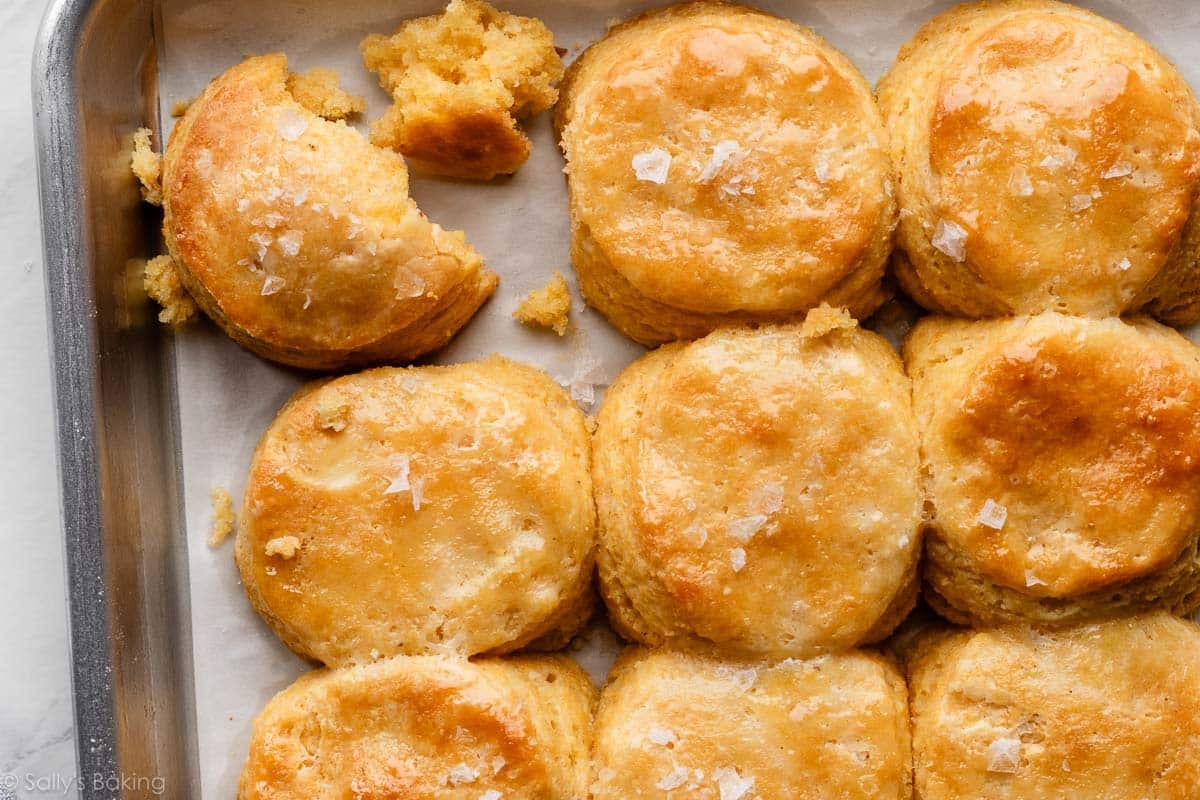
When the cornbread biscuits come out of the oven, brush the tops with melted butter + honey and sprinkle with a little flaky sea salt. It’s a simple finishing touch that takes these cornbread biscuits from good to GREAT.
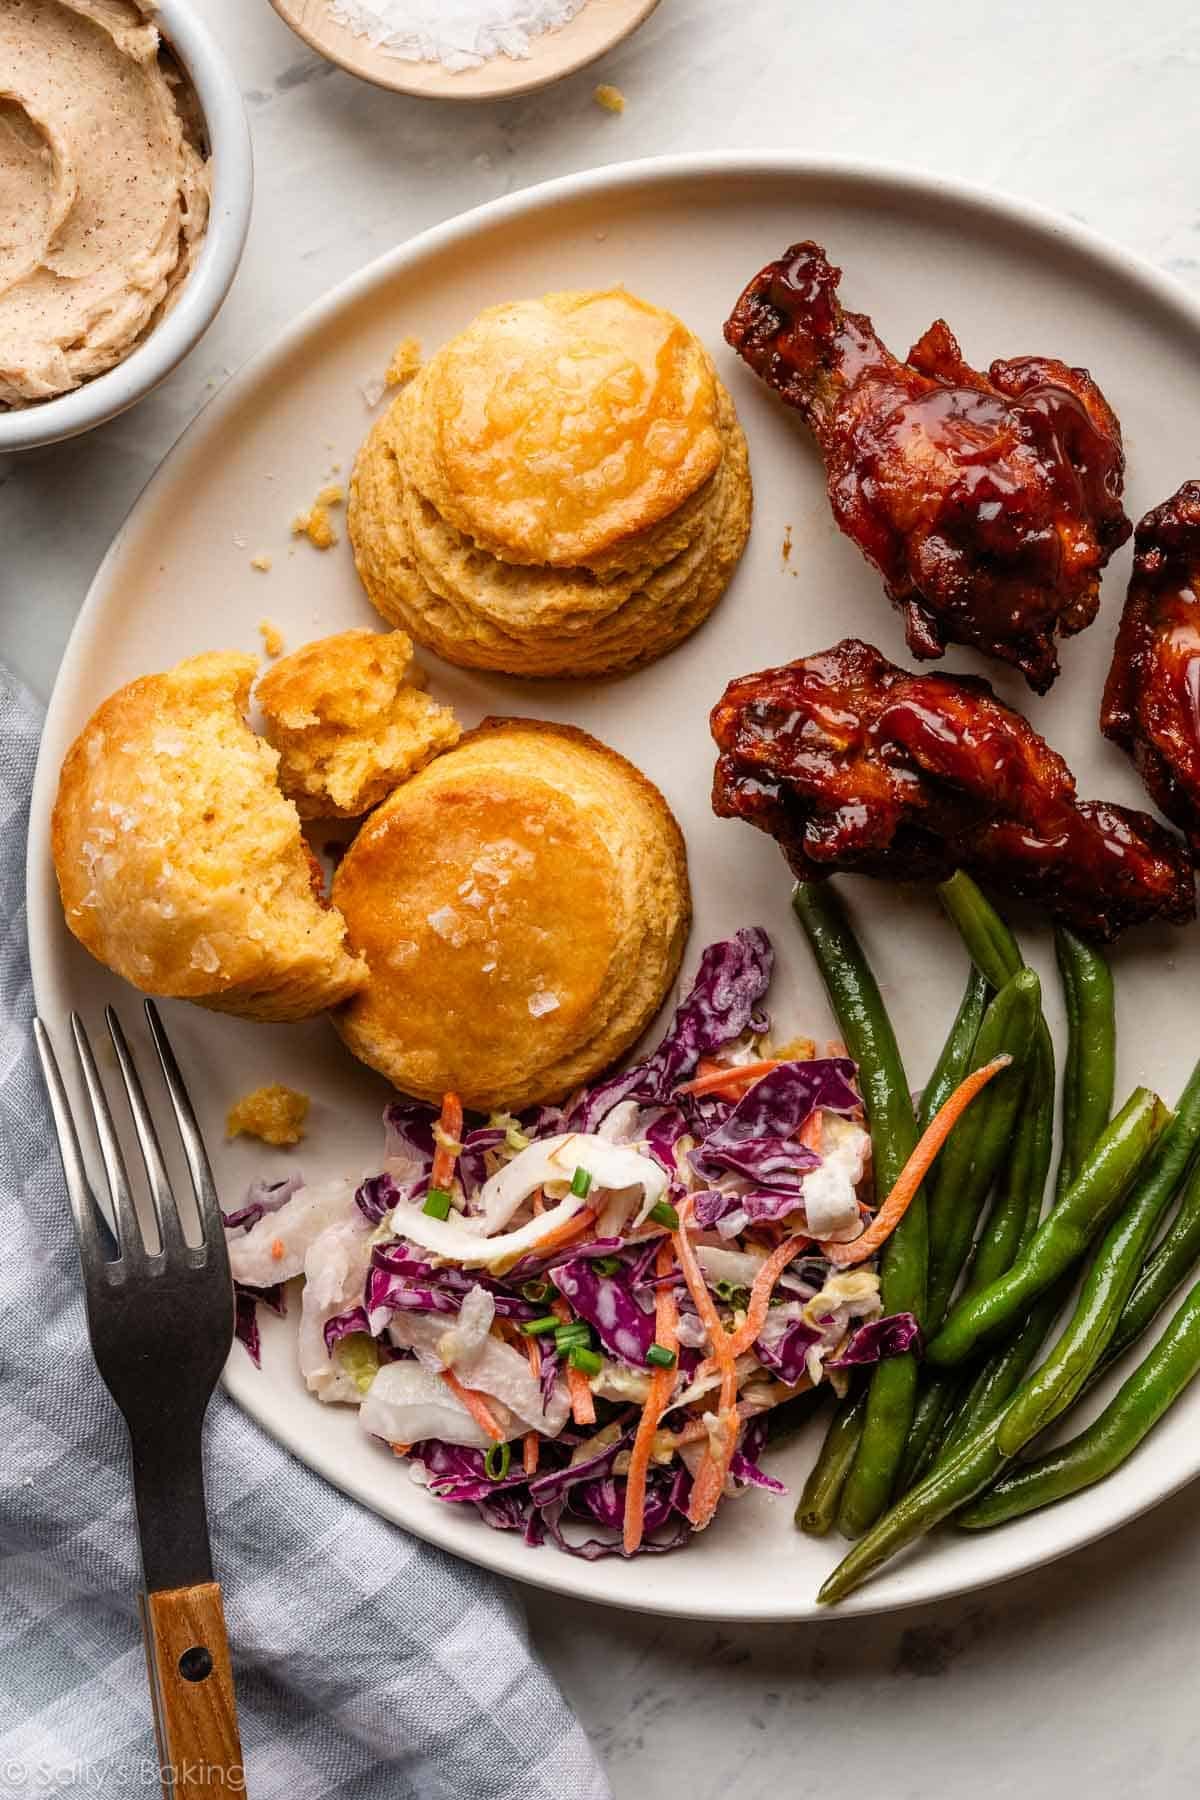
Serve your cornbread biscuits warm with butter and peach preserves, or homemade honey butter or cinnamon butter. You could also create delicious breakfast sandwiches with these breakfast sausage patties.
We loved them with BBQ and coleslaw!
Cornbread Biscuit Flavor Variations
This recipe is incredibly versatile. Feel free to fold in some flavorful add-ins. My team’s favorite versions are:
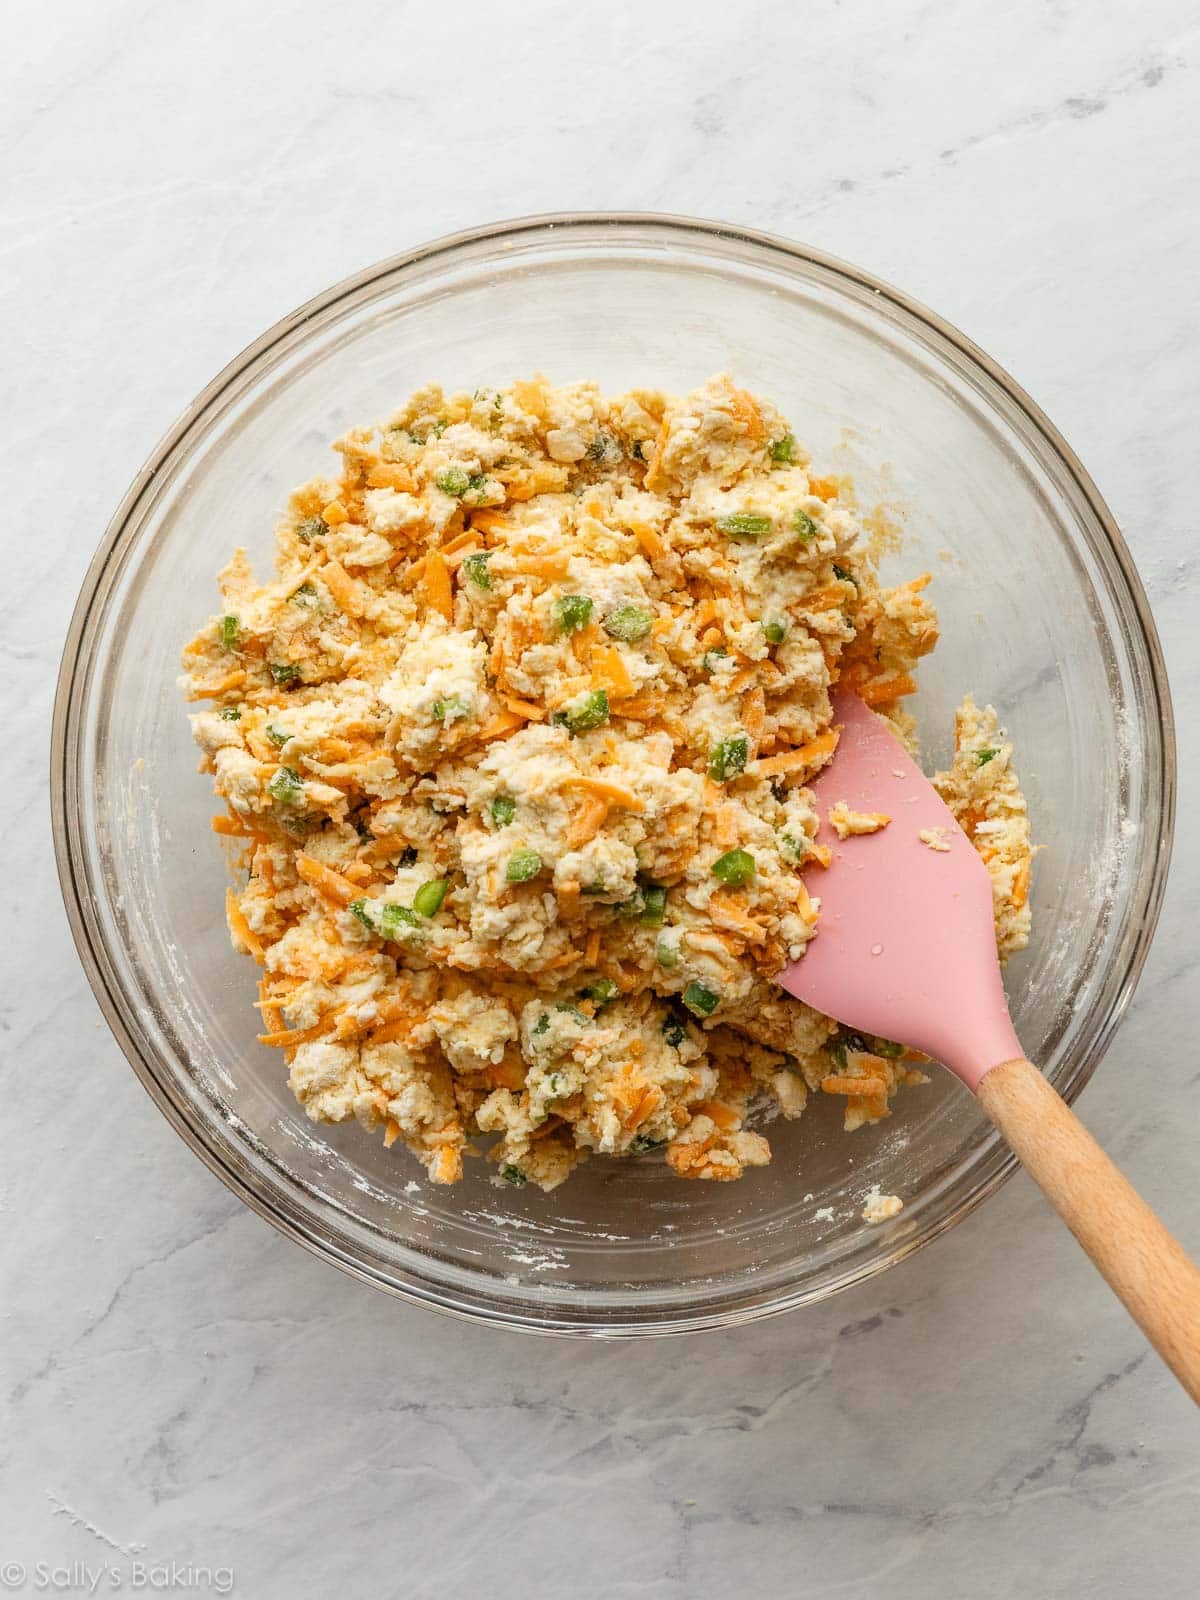
Jalapeño Cheddar: Deseed and dice one jalapeño pepper, and freshly shred some sharp cheddar cheese:

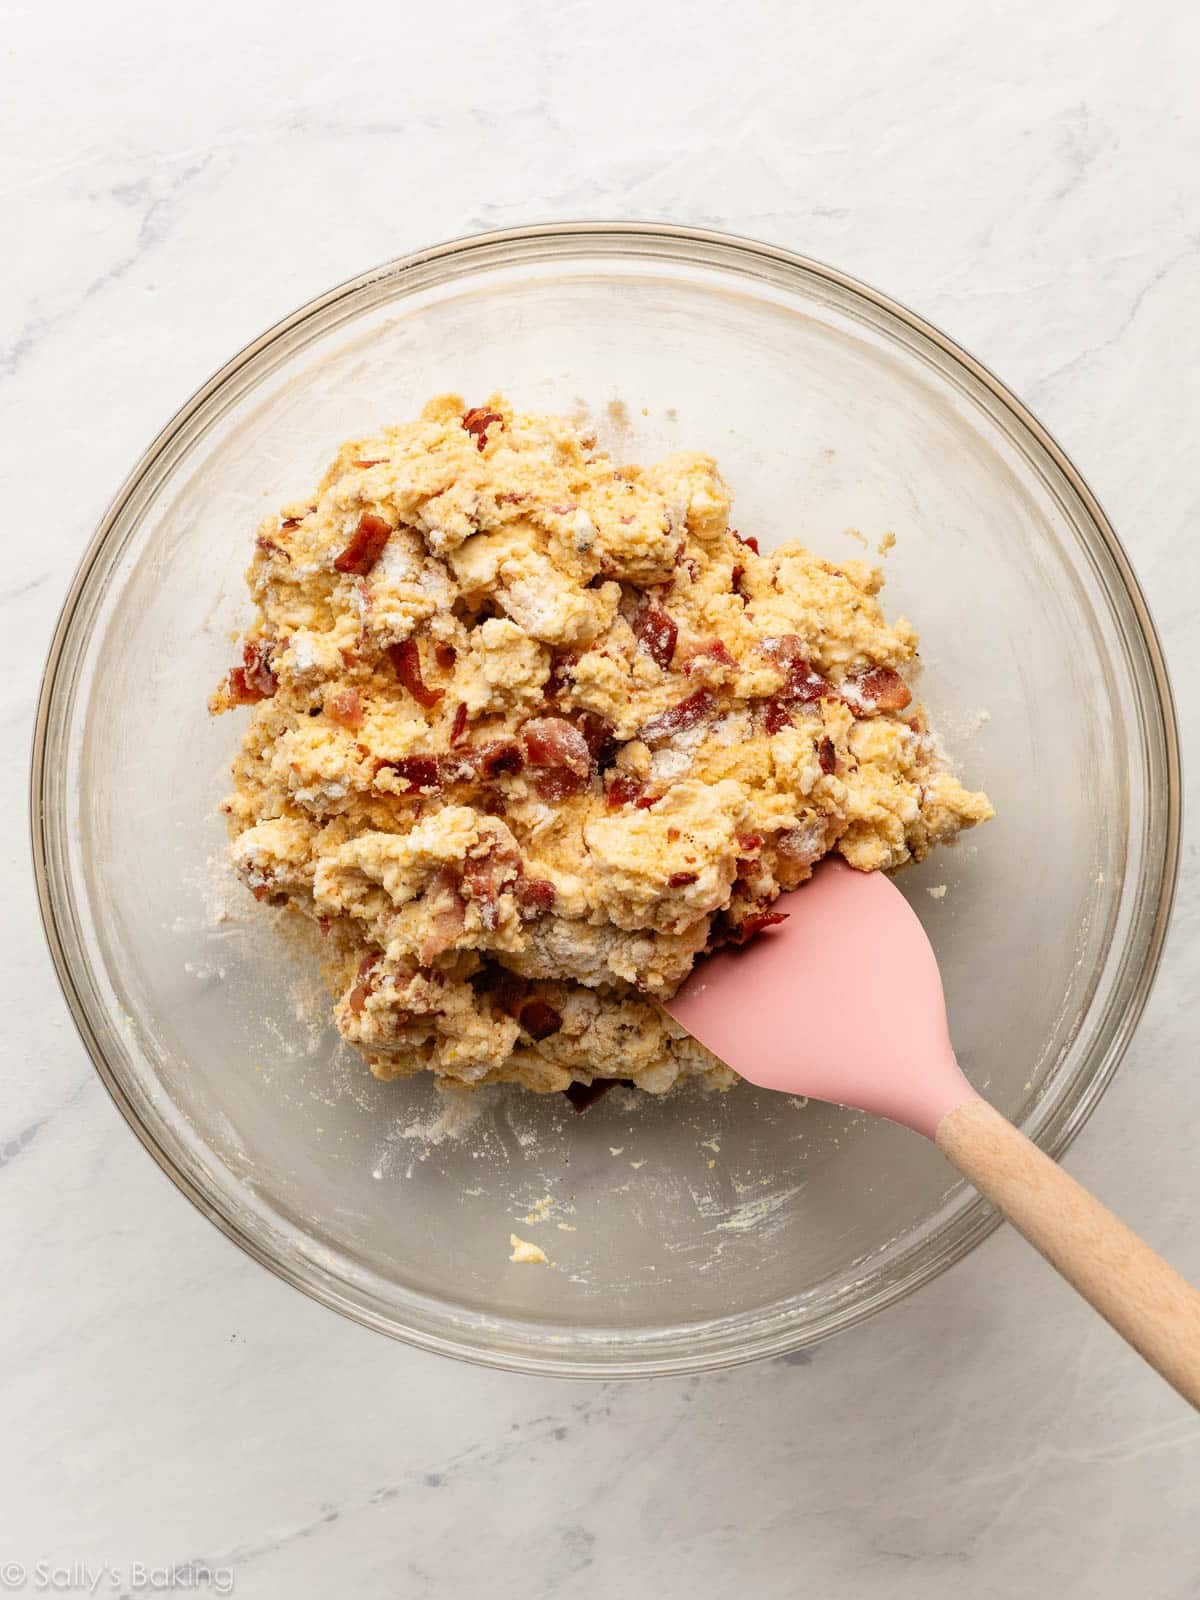
Maple Bacon: Replace the honey with pure maple syrup, and fold in some crumbled or chopped cooked and cooled bacon. We especially love these with eggs for breakfast!
Success Tips for the Best Cornbread Biscuits
After developing other biscuit recipes, let me share what I’ve learned along the way. I’ve made plenty of mistakes so you don’t have to. These tried-and-true tricks will turn your flat, dry biscuits into the best biscuits ever.
- Keep It Cold: About 15 minutes before I begin making biscuits, I take the butter out of the refrigerator, cut it into cubes, then place the butter cubes in the freezer until I need them. You can also refrigerate the shaped biscuits for a while before baking, for extra insurance that they will rise up tall instead of spreading out.
- Don’t Over-Mix: Never overwork biscuit dough. Overworking and over-handling biscuit dough will result in tough, hard, and flat biscuits. Mix the ingredients together *just* until combined. Dough will be crumbly, and that’s normal.
- Flatten & Fold Method: The most important step of all is folding the dough. Turn the shaggy dough out onto a work surface and flatten it with your hands. Fold, flatten, turn, and repeat.
- Don’t Twist the Biscuit Cutter: When cutting the dough with a biscuit cutter, do not twist the cutter. Press the cutter down into the dough firmly. Twisting it will seal off the biscuit edges, preventing the biscuits from rising.
- Bake Close Together: Biscuits rise up nice and tall when they are pressed snuggly against one another in the oven.
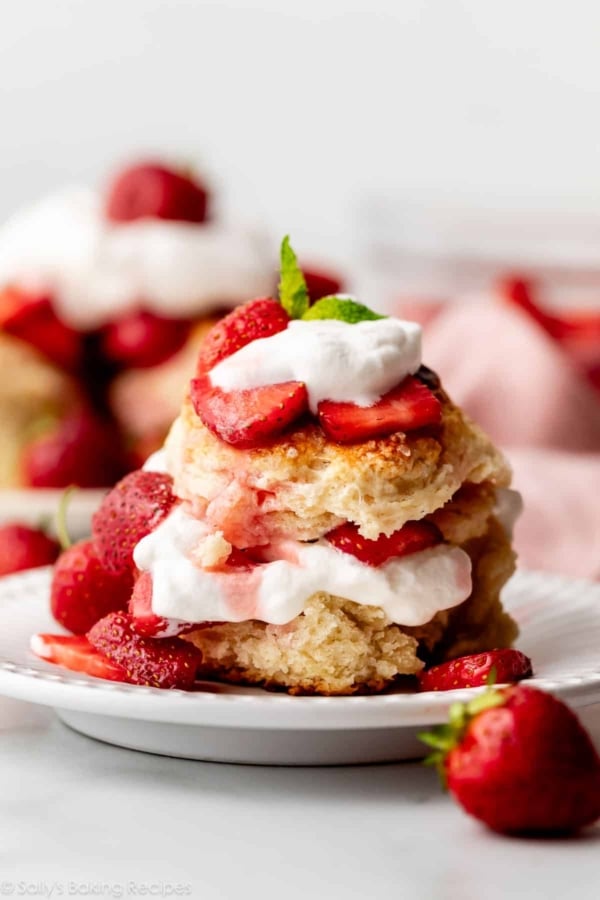
I bake biscuits often, and use the same process and success tips when making all of my favorite variations including cheddar biscuits, everything bagel biscuits, and zucchini biscuits. I also make biscuit-topped vegetable pot pie and biscuit breakfast casserole. And you can absolutely turn these into dessert with my recipes for biscuit-topped berry cobbler and homemade strawberry shortcake.
Cornbread Biscuits Tools
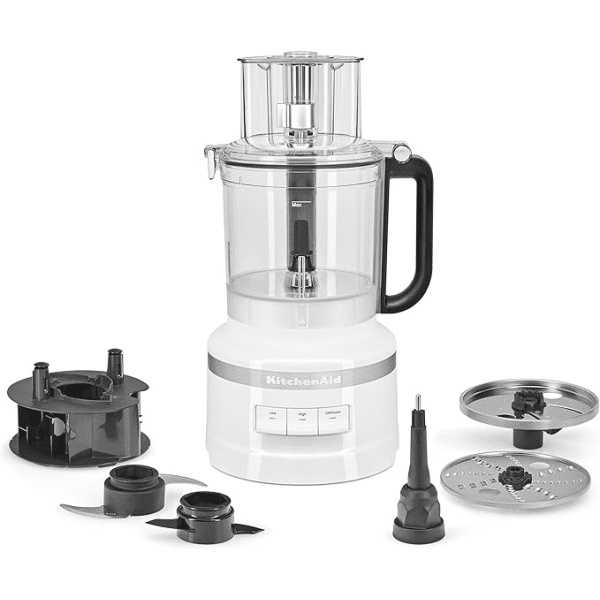
13-cup Food Processor



Homemade Cornbread Biscuits (3 Ways)
- Prep Time: 45 minutes
- Cook Time: 20 minutes
- Total Time: 1 hour, 5 minutes
- Yield: 15-18 small biscuits
- Category: Bread
- Method: Baking
- Cuisine: American
Description
These cornbread biscuits combine the buttery layers of classic homemade biscuits with the subtle sweetness and texture of cornbread. Made with buttermilk and cold butter, they bake up tall, tender, and golden brown with crisp edges and soft centers. Perfect for breakfast, dinner, or serving alongside soups, chili, and barbecue.
Ingredients
Biscuit Dough
- 1 and 3/4 cups (219g) all-purpose flour (spooned & leveled), plus more as needed for hands and work surface
- 3/4 cup (105g) fine or medium-ground yellow cornmeal*
- 1 Tablespoon baking powder
- 1/2 teaspoon baking soda
- 1 teaspoon salt
- 1/2 cup (8 Tbsp; 113g) unsalted butter, cubed and very cold*
- 3/4 cup (180ml/g) buttermilk, cold (plus more for brushing)
- 3 Tablespoons (63g) honey (or pure maple syrup, if making the maple bacon version)
Jalapeño Cheddar Version
- 1 jalapeño pepper, seeded and diced
- 1 cup (113g/4oz) freshly shredded sharp cheddar cheese
Maple Bacon Version
- 6 slices bacon, cooked, cooled, and crumbled/chopped
Topping
- 2 Tablespoons (28g) unsalted butter, melted
- 1 Tablespoon (21g) honey (or pure maple syrup, if making the maple bacon version)
- flaky sea salt
Instructions
- Preheat oven to 425°F (218°C).
- Make the biscuits: Place the flour, cornmeal, baking powder, baking soda, and salt in a large bowl or in a large food processor. Whisk or pulse until combined. Add the cubed butter and cut into the dry ingredients with a pastry cutter or by pulsing several times in the processor. Cut/pulse until coarse crumbs form.

- If you used a food processor, pour the mixture into a large bowl. Make a well in the center. Pour 3/4 cup (180ml/g) buttermilk into the well and drizzle honey (or maple syrup) on top. Using a large spoon or spatula, fold until it begins to come together. If making one of the flavor variations, fold in your chosen add-ins as well. Do not overwork the dough. The dough will be shaggy and crumbly with some wet spots.

- Pour the dough and any dough crumbles onto a floured work surface and gently bring together with generously floured hands. The dough will become sticky as you work with it. Have extra flour nearby and use it often to flour your hands and work surface as needed in this step. Using floured hands, flatten into a 3/4-inch-thick rectangle as best you can. Fold one side into the center, then the other side on top. Turn the dough 90 degrees, so it’s now horizontal. Gently flatten into a 3/4-inch-thick rectangle again. Repeat the folding again. Turn the dough horizontally one more time. Gently flatten into a 3/4-inch-thick rectangle. Repeat the folding one last time. Flatten into the final 3/4-inch-thick rectangle.


- Cut into 2- or 2.5-inch circles with a biscuit cutter. (Tip: Do not twist the biscuit cutter when pressing down into the dough because this seals off the edges of the biscuit which prevents them from fully rising.) Gather and re-roll the scraps until all the dough is used. Arrange close together on a parchment paper-lined baking sheet (or in a cast iron skillet). Continue with step 6 or cover and refrigerate the biscuits until you’re ready to bake, for up to 24 hours.

- Brush the tops with remaining buttermilk. Bake for 18–20 minutes or until the tops are golden brown.

- For the topping: In a small bowl, whisk the melted butter and honey (or maple syrup) together. Using a pastry brush, brush the warm biscuits with honey butter topping. Sprinkle with flaky sea salt.
- Cover leftovers tightly and store at room temperature for up to 2 days or in the refrigerator for up to 5 days.
Notes
- Make Ahead & Freezing Instructions: Baked biscuits freeze well for up to 3 months. Thaw overnight in the refrigerator or at room temperature, then warm to your liking before serving. You can also freeze the biscuit dough. Prepare the dough through step 4, wrap tightly in plastic wrap (best for freshness), and freeze for up to 3 months. Thaw overnight in the refrigerator, then continue with step 5. Alternatively, after step 4, wrap the dough tightly and refrigerate for up to 24 hours before continuing with step 5.
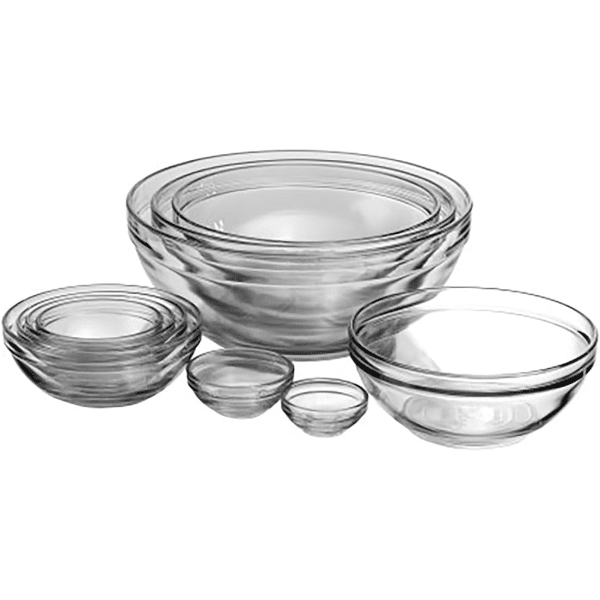
- Special Tools (affiliate links): Glass Mixing Bowl | Pastry Cutter or Food Processor | 2- or 2.5-inch Biscuit Cutter | Baking Sheet with Parchment Paper (or Cast Iron Skillet) | Pastry Brush | Flaky Sea Salt
- Cornmeal: For best texture, use fine or medium-ground yellow cornmeal. Avoid coarse cornmeal, which can make the biscuits gritty and prevent them from rising as tall.
- Butter: Cut into 1/2-inch cubes. Keep butter as cold as possible until you need it. I recommend placing the cubed butter in the freezer for about 15 minutes before you begin.
- Buttermilk: If you can’t find buttermilk at the store, you can make your own DIY buttermilk substitute. Add 2 teaspoons of fresh lemon juice or white vinegar to a liquid measuring cup. Add enough milk to make 1 cup (240g/ml). (You need 3/4 cup in the recipe, plus some extra for brushing). Whisk together, then let sit for 5 minutes before using in the recipe. Whole milk is best for the DIY sour milk substitute, though lower-fat or nondairy milks work in a pinch.









Reader Comments and Reviews
This is most tender delicious chiffon cake I have ever made.
The first chiffon cake I have made and it was a hit! The recipe instructions were clear and so helpful. Nice height, crumb, light and fluffy. Served it for my book club last night and everyone loved it. It’s definitely a keeper:)
Great cake! The instructions were very clear and it turned out perfect. I poached some peaches and sliced those on top of the included whipped cream recipe with some of the peach syrup. Next time, I would slice the cake horizontally in half and have two layers of whipped cream. It was a bit too much cake with not enough frosting for me.
Made the alternate recipe for the berry galette with buttermilk cornmeal crust for my wife & I. I mixed blueberries, raspberries & blackberries for the filling and served it with whipped cream. My wife & I enjoyed it. Was pretty easy to make.
4 stars just because it was sooo many steps and dishes! They turned out good, just too much work for how they turned out in my opinion. I made ½ the recipe and baked them in cupcake pans. Got 18 cupcakes. The pans were a mess afterward lol. I did 18 minutes at 325 if anyone is wondering. Good with lemon zest and blueberries on top. The cream cheese whipped cream frosting feels like it’s lacking to me. Needs more sweet or something for my taste
Super fluffy, and absolutely delightful. I definitely recommend this cake for any occasion for sure.
This is a fantastic recipe! The cake is light and perfect for topping with fresh berries! Delicious!
These Cornbread Biscuits are absolutely delicious! They’re soft, flavorful, and have the perfect balance between sweet and savory. Definitely a recipe I’ll be making again!
Delicious! I didn’t use the cream and berries since I made it for my office waiting room, but still so tasty and not too sweet at all. Placing a circle of parchment in the bottom of the tube pan (cutting a hole in the middle) made it so easy to get out of the pan when it was cool.
It was super easy and delicious
I haven’t tried it yet but this was fun to make. I did struggle to release it from the pan and had a chunk stick but I popped it back on. I opted for a strawberry buttercream to frost yum!
My daughter said this was the best cake I’ve ever made. I left mine plain and added strawberries and cream to individual pieces so I could freeze leftover slices. I used King Arthur Measure for Measure gluten free flour and almond milk and my gluten eating family members said you would never know it was gluten free.
This was straightforward and delightful. I used about a tablespoon of vanilla paste based on comments suggesting the cake lacked flavor, and I topped the cake with stabilized whipped cream and fresh berries. Wowie zowie, it worked well. Delicious, soft, light.
This cake was so soft and delicate, a great summer bake. It was delicious topped with the topping and some blueberries
So light and yummy! I especially love the cream cheese whipped topping.
Recipe was easy to follow. I made a layer cake and it turned out well. The frosting was delicious with fresh blueberries on top. Everyone enjoyed the cake and it was still great the next day.
I loved this recipe. It wasn’t difficult at all. Everyone that tasted loved it. I made the whipped cream & cream cheese icing. Added strawberries to the icing plus chopped strawberries as a filling between layers. I used 9 inch pans (no 8 inch available). It made for thin layers but turned out okay.
I loved this recipe. It wasn’t difficult at all. Everyone I shared a piece with absolutely loved it.
Delicious and so much fun to make!
Delicious!
I’ve made this before the challenge and it’s my favorite chiffon cake recipe which meant I was so excited when I found out it was this months challenge. I eat mine with homemade blackberry jam.
I made this cake and the cream cheese whipped frosting recipe. Both were delicious!
Such an amazing recipe!
I used 6” pans to bake and it took 35 minutes
I forgot to use the parchment paper but I followed all the other instructions and still the cake released so perfectly it was unbelievable!
The texture and taste were also both so perfect.
This will definitely be my go to recipe for chiffon cakes from now.
I did this with the chocolate ganache!! So delicious!!
I loved baking the chiffon cake and loved how it turned out. The recipe was very easy to follow. The cake is delicate, moist, and paired perfectly with whipped cream or lemon curd, plus some cherries.